Setup
Purpose
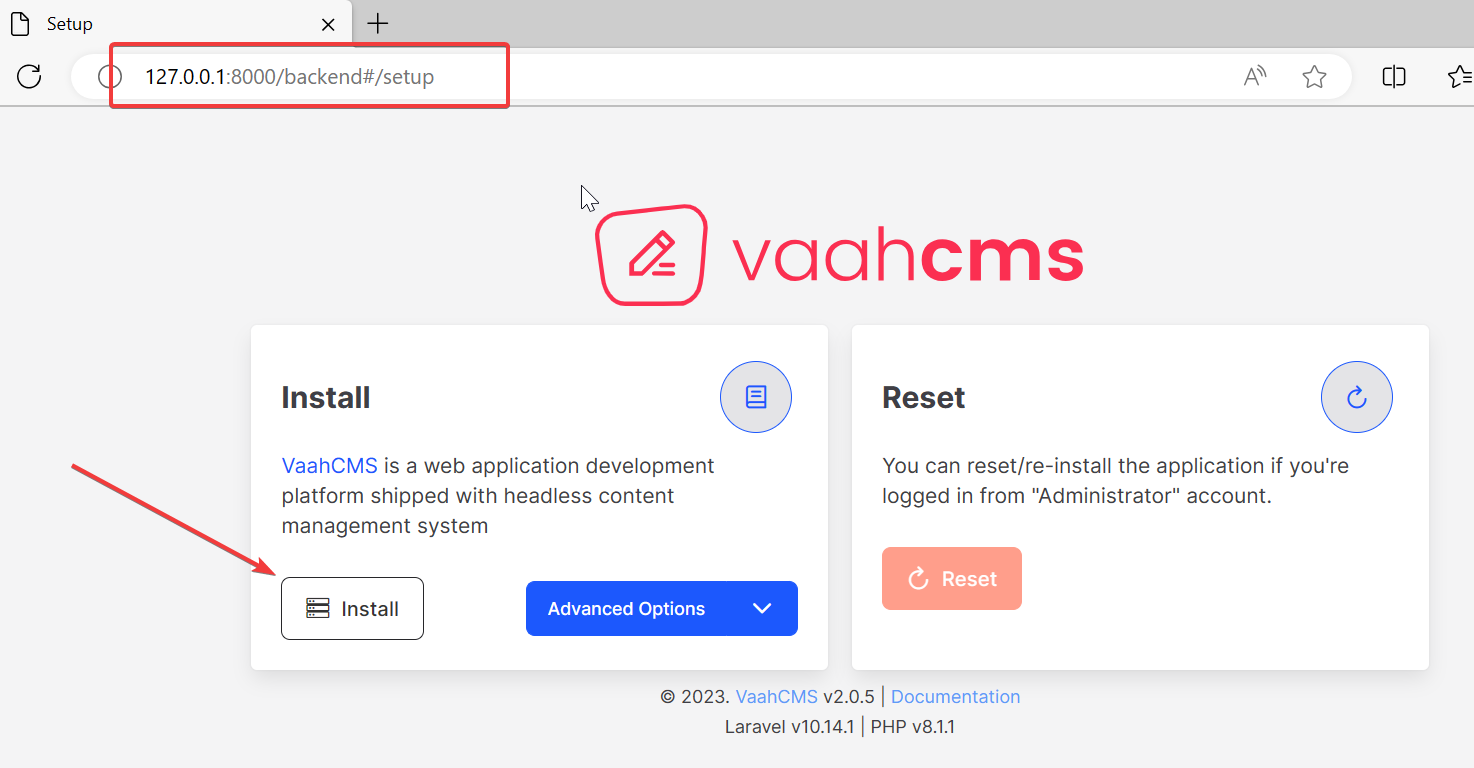
You must navigate to the "Setup" page to configure the entire application after installing all the dependencies. For setting up the database, email clients, and first "Super Administrator" account, we provided a GUI. This setup page makes it simple to set up the fundamental procedure and begin work.
<public-url>/backend#/setup
Setup Process
Step - 1
Click on the installation button to start the procedure.
Step - 2
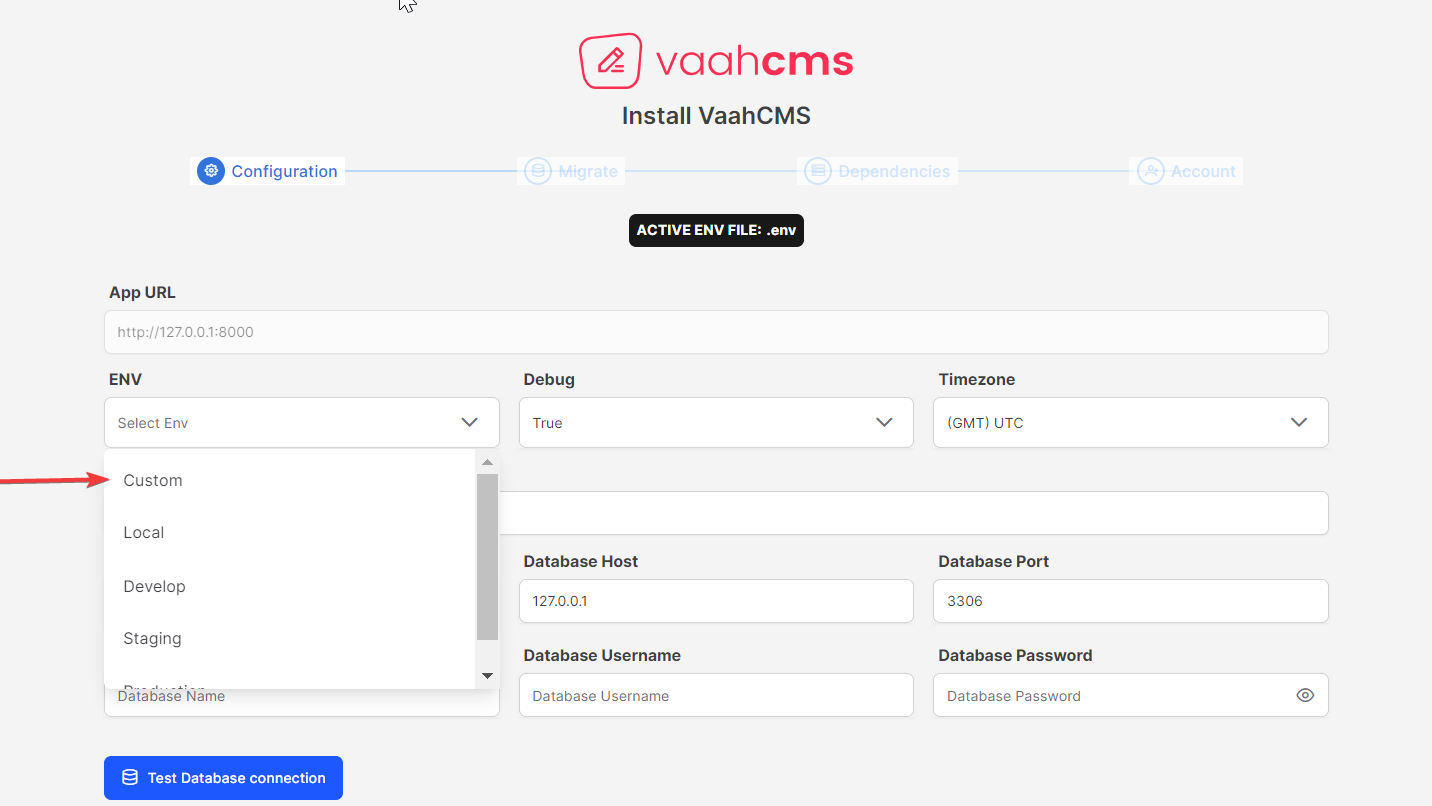
Follow these setups for easy configuration.
- Click on ENV and choose Custom. Enter name in lowercase.
- Enter you App/Website Name-vaahcms
- Database Type-MySQL
- Database Name-Enter your database name
- Database Username-root
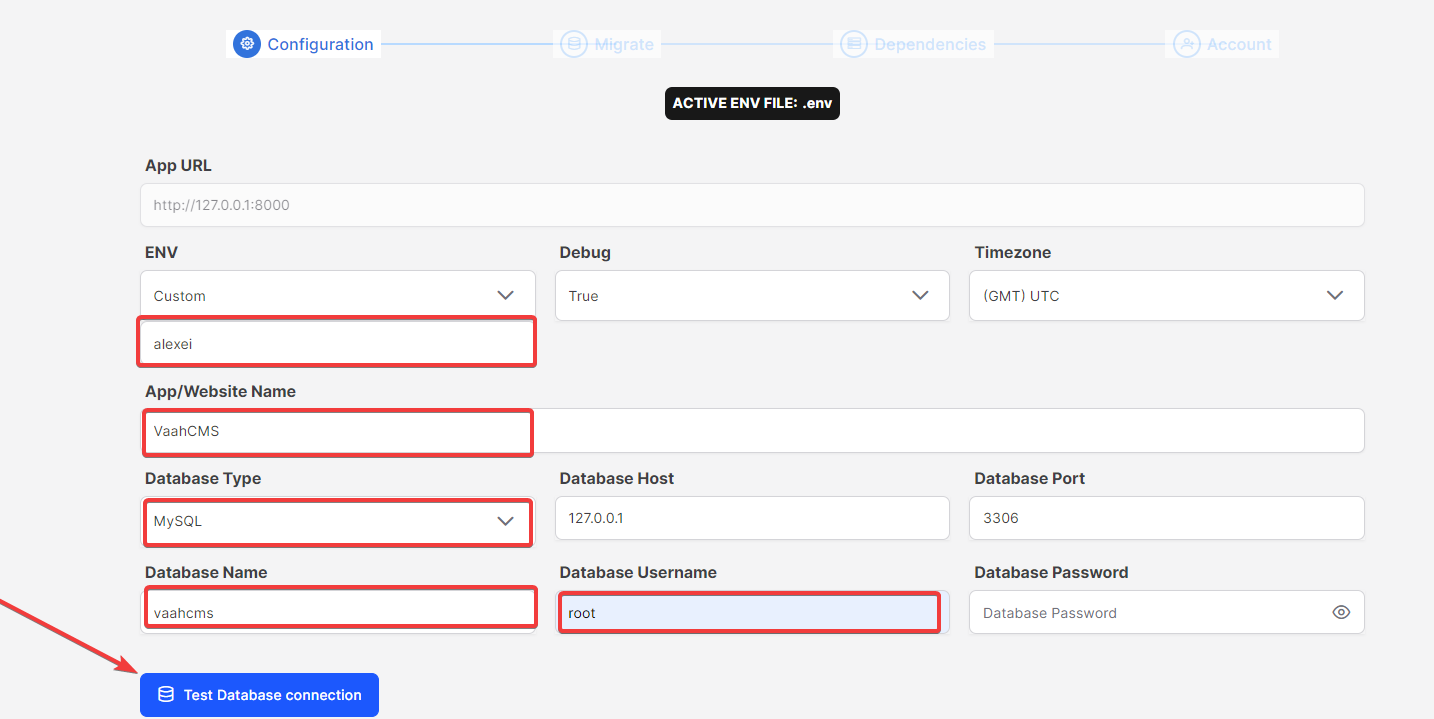
After clicking on the Test Data connection then click on the save & next button.
Database Configuration
| Columns | Type | Description |
|---|---|---|
| Debug | Drop-down | From this drop-down selection, you must choose your application's "debug" mode. |
| Time-zone | Searchable Drop-down | You may look up and select your application's time zone using this drop-down. |
| App/Website Name | Input | You have to enter the name of your application or website here. |
| Database Type | Drop-down | You must select the database for your application from this drop-down selection. |
| Database Host | Input | Enter the IP address of your database host here. |
| Database Port | Input | Enter the active port for your database here. |
| Database Name | Input | Enter the database name for your application here. |
| Database Username | Input | Enter your database's username here. |
| Database Password | Input | Enter your database's password here. |
NOTE
After fill-up the form you click on the Test Database Connection button to ensure that your given credentials are right.
Mail Configuration
| Columns | Type | Description |
|---|---|---|
| Mail Provider | Drop-down | From thin drop-down selection you must chose your mail provider client. |
| Mail Driver | Input | Enter your mail driver here. |
| Mail Host | Input | Enter your mail provider's host here. |
| Mail Port | Input | Enter your mail provider's port here. |
| Mail Username | Input | Enter your username here. |
| Mail Password | Input | Enter your password here. |
| Mail Encryption | Drop-down | From this drop-down selection you must chose your mail's encryption type. |
| From Name | Input | Enter your from name here. |
| From Email | Input | Enter your from email here. |
After fill-up the form you click on the Test Mail Configuration button to ensure that your given credentials are right.
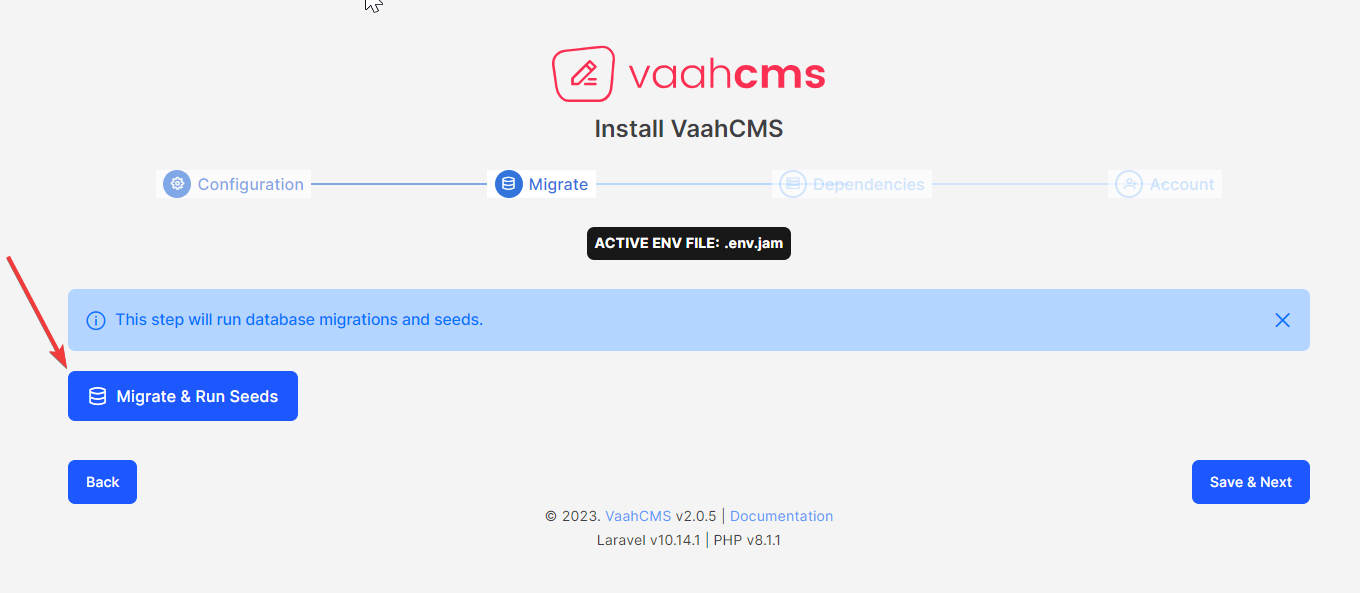
Step - 3
Click Migrate & Run Seed button to run the migration and seeds.
basically, migrate and seed create a table in the database and generate important files in vaahCMS.
After clicking on Migrate & Run Seeds then you get a dialog box.
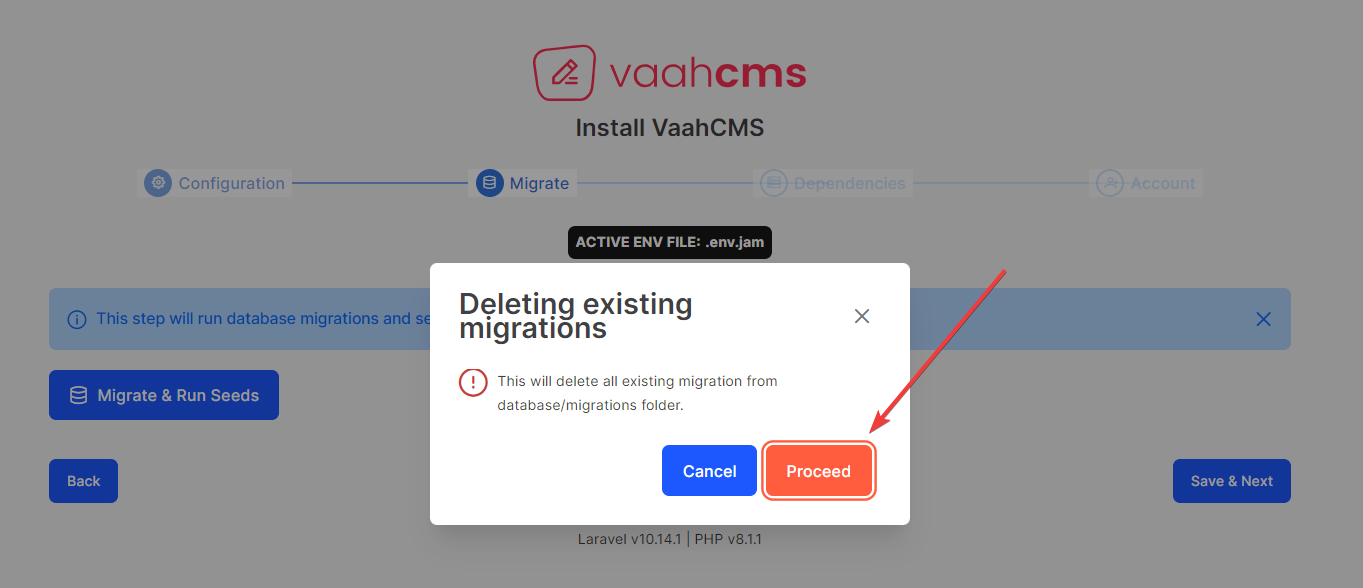
NOTE
This will delete all existing migration from database/migration folder.
Click on Proceed button then click on the Save & Next button.
Step - 4
Download the Dependencies.
These dependencies create a theme and module.
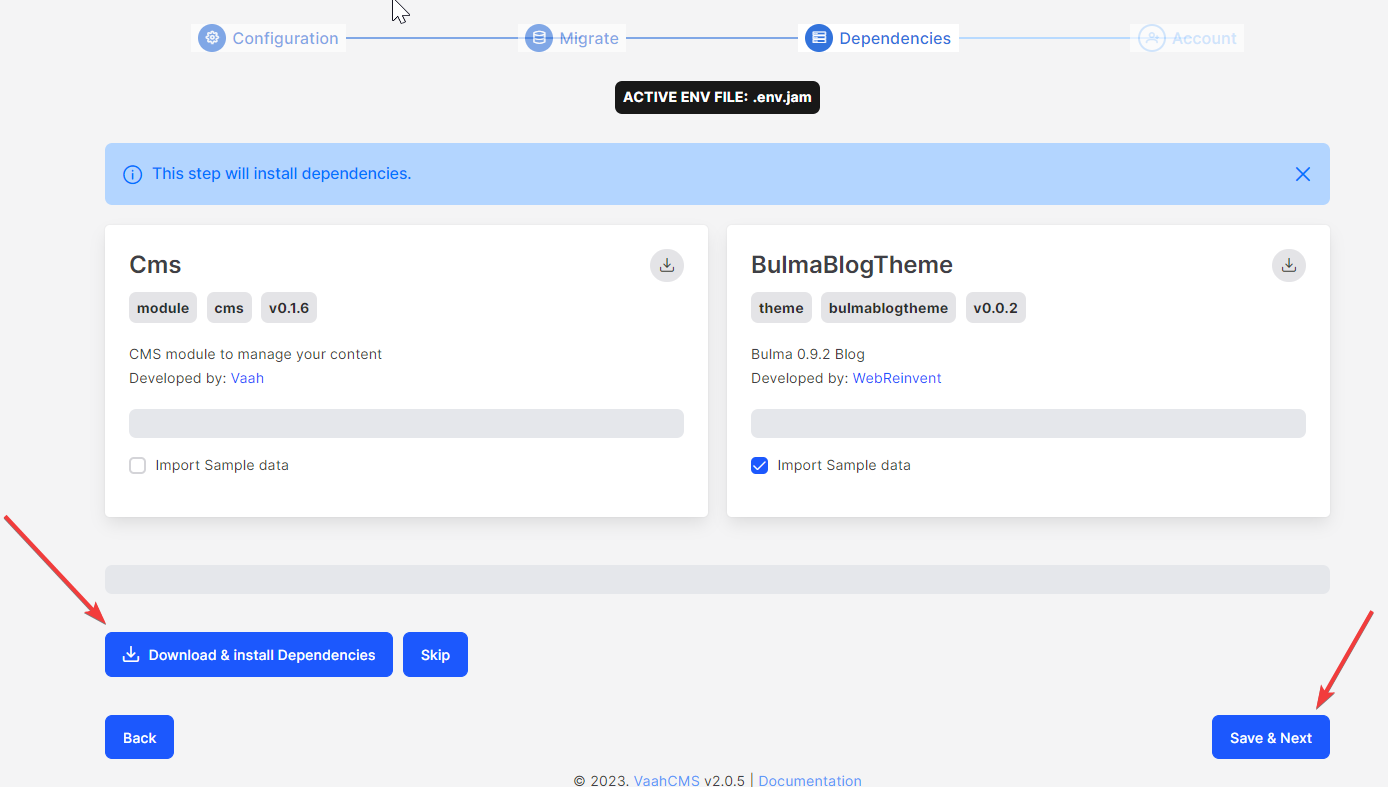 Click on
 Download & Install Dependencies button then click on Save & Next button.
Step - 5
Now create a new super administrator account.
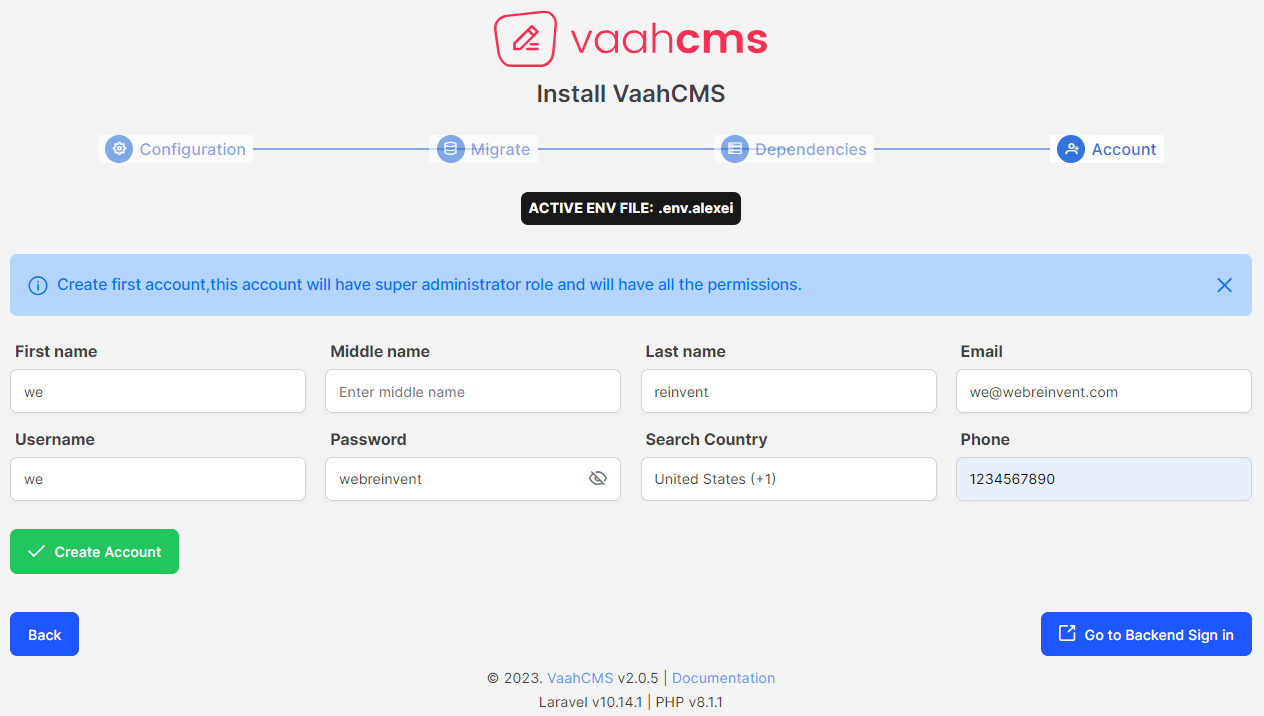
Fill all the details and Click on Create Account button then click on Go to Backend Sign in button.
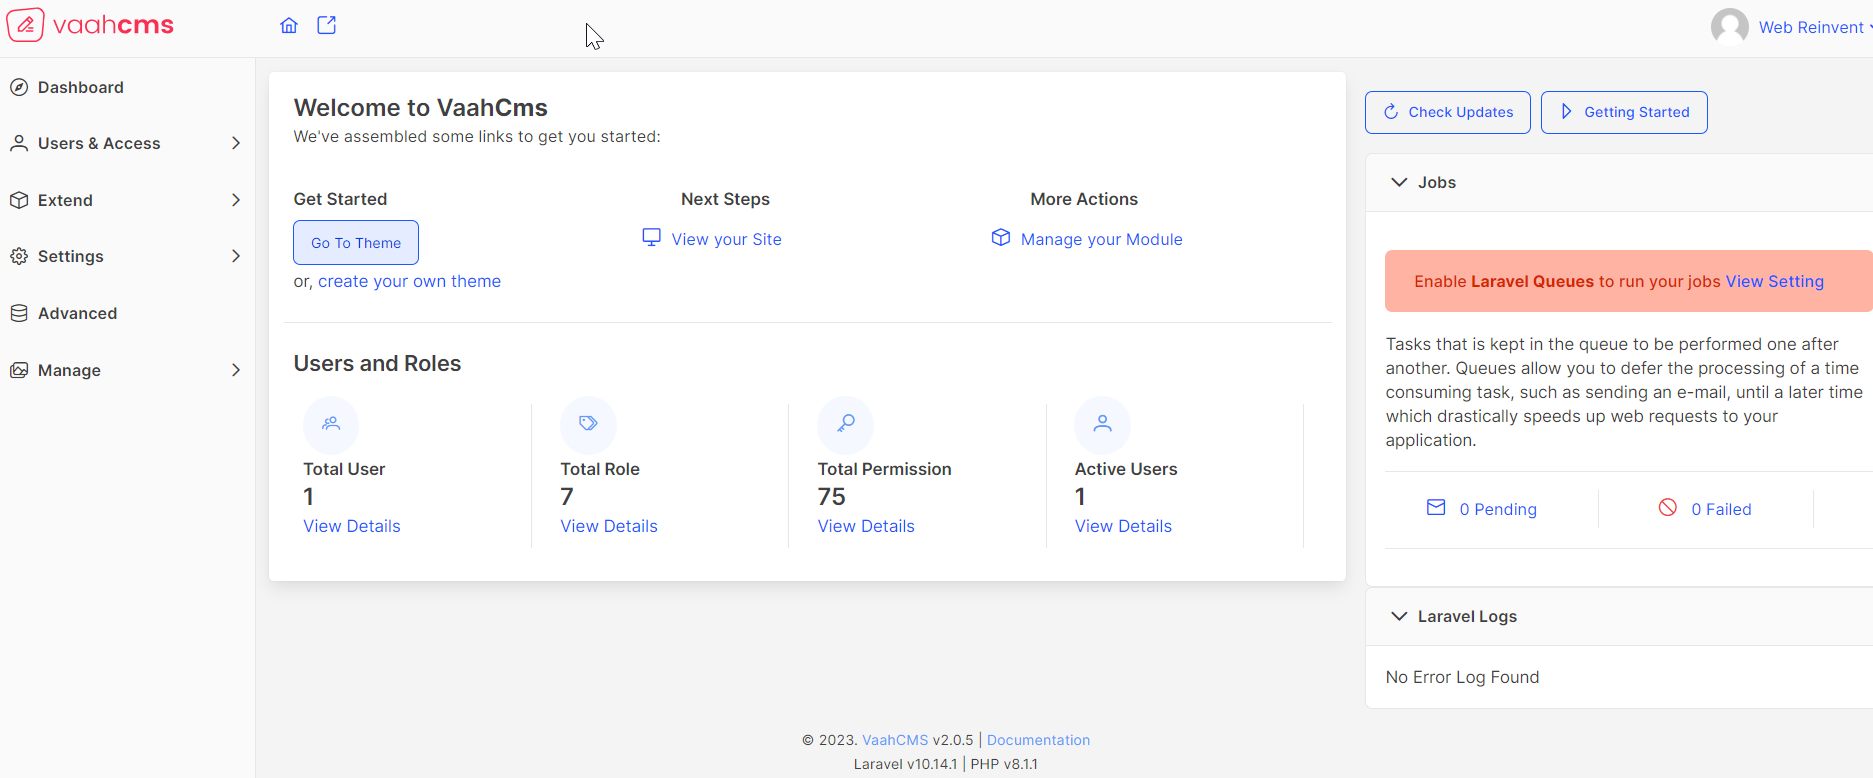
VaahCMS is ready for login
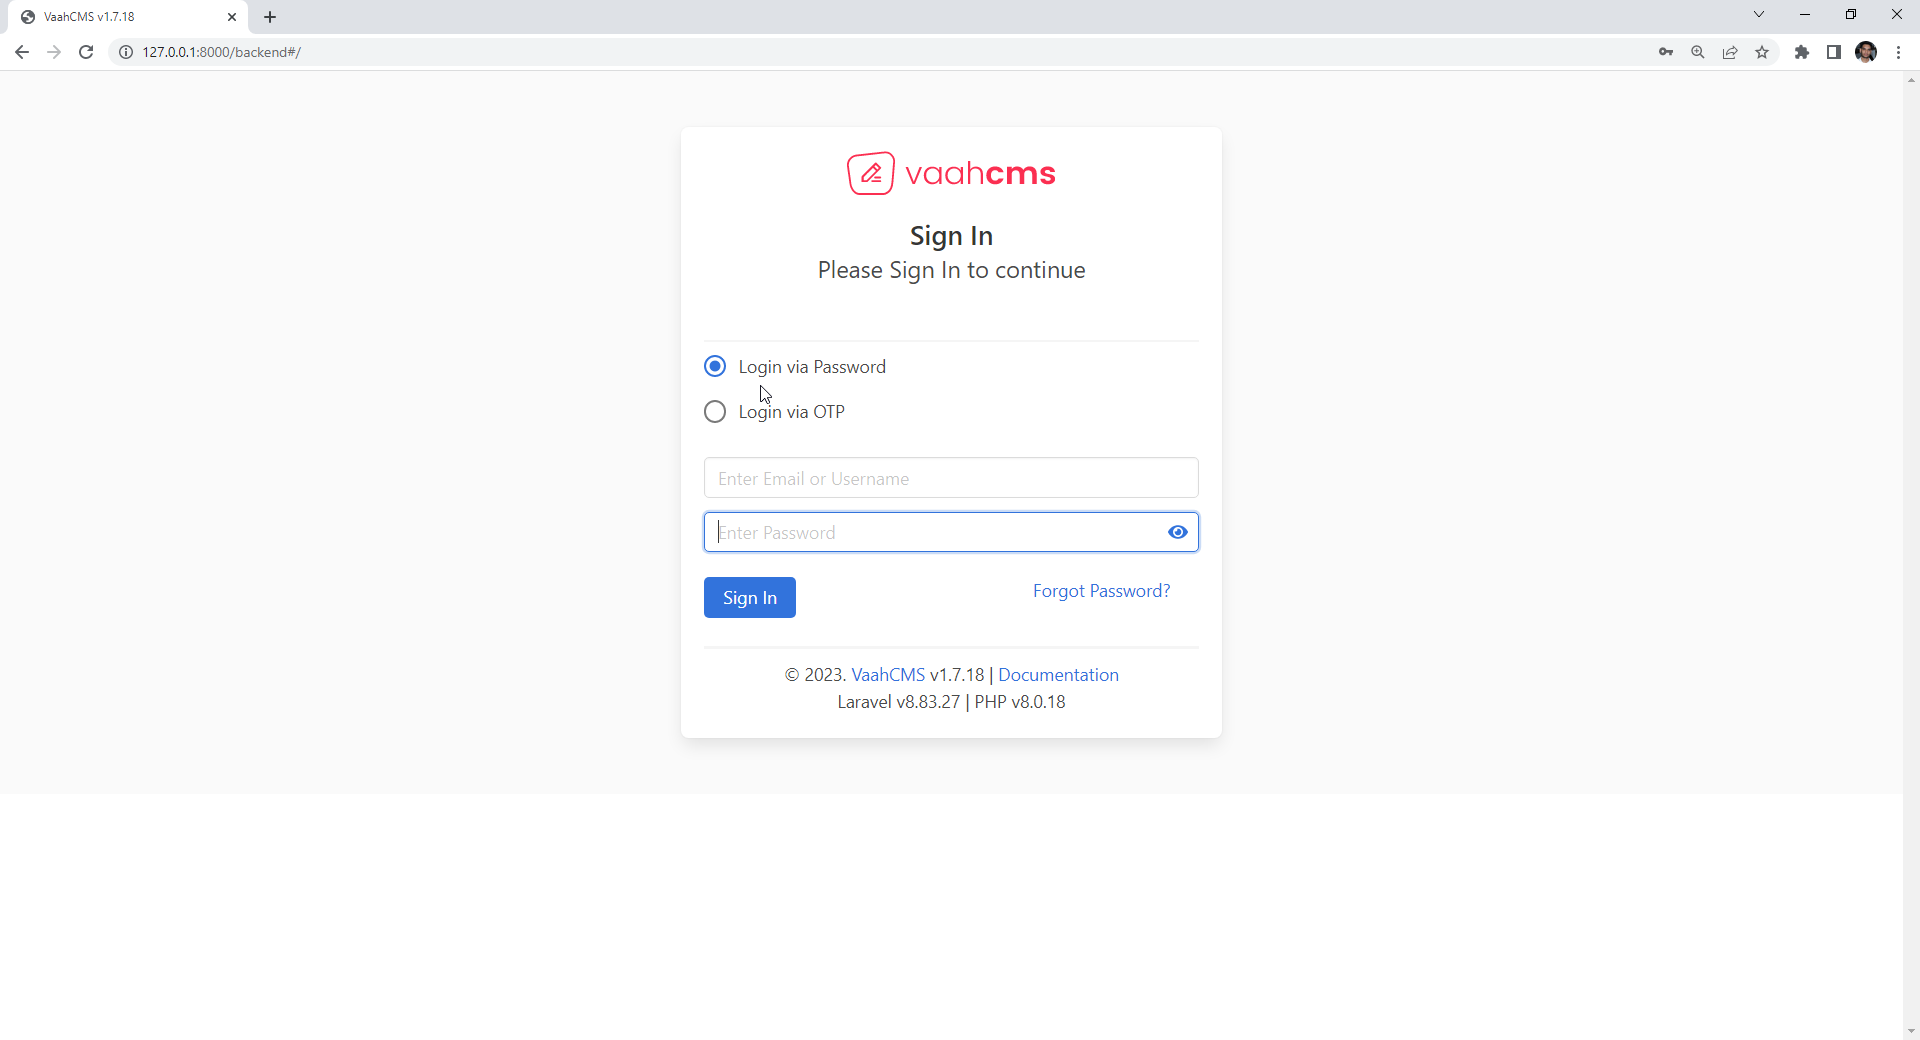
After login interface.
For more understanding, you can watch bellowed attached video.