General settings
Introduction
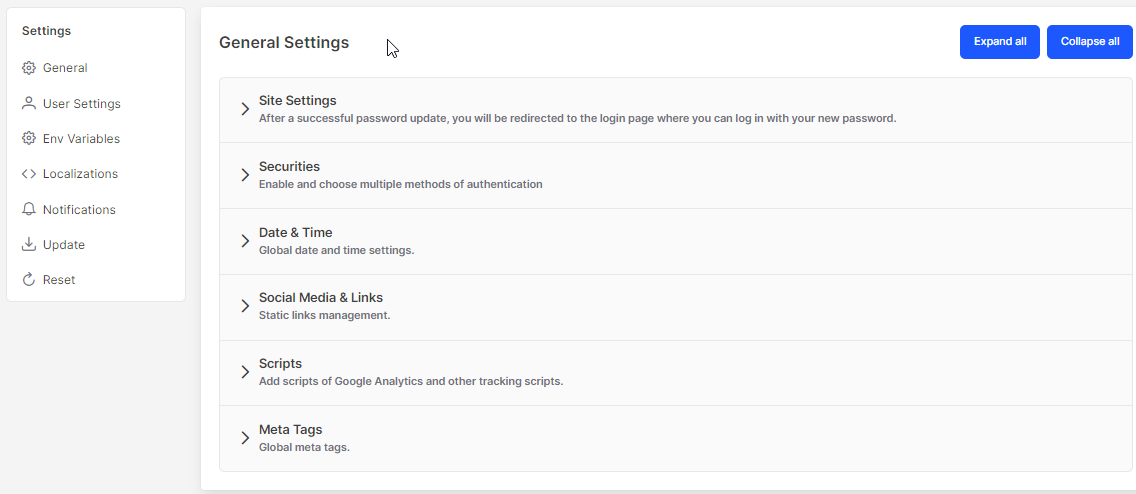
The General Settings section of VaahCMS, you can find controls and options that allow you to configure and customize different aspects of the CMS.
These controls are grouped into six categories, and you can expand each category to access and adjust its settings individually.
The explanation suggests that the upcoming discussion will cover each of these categories in detail,
explaining how to use and configure them effectively. This organization helps users manage and fine-tune
vaahCMS according to their specific needs and preferences.
Visit following url you will see the General settings section:
<public-url>/backend#/vaah/settings/general
Below Image is a example of General settings.
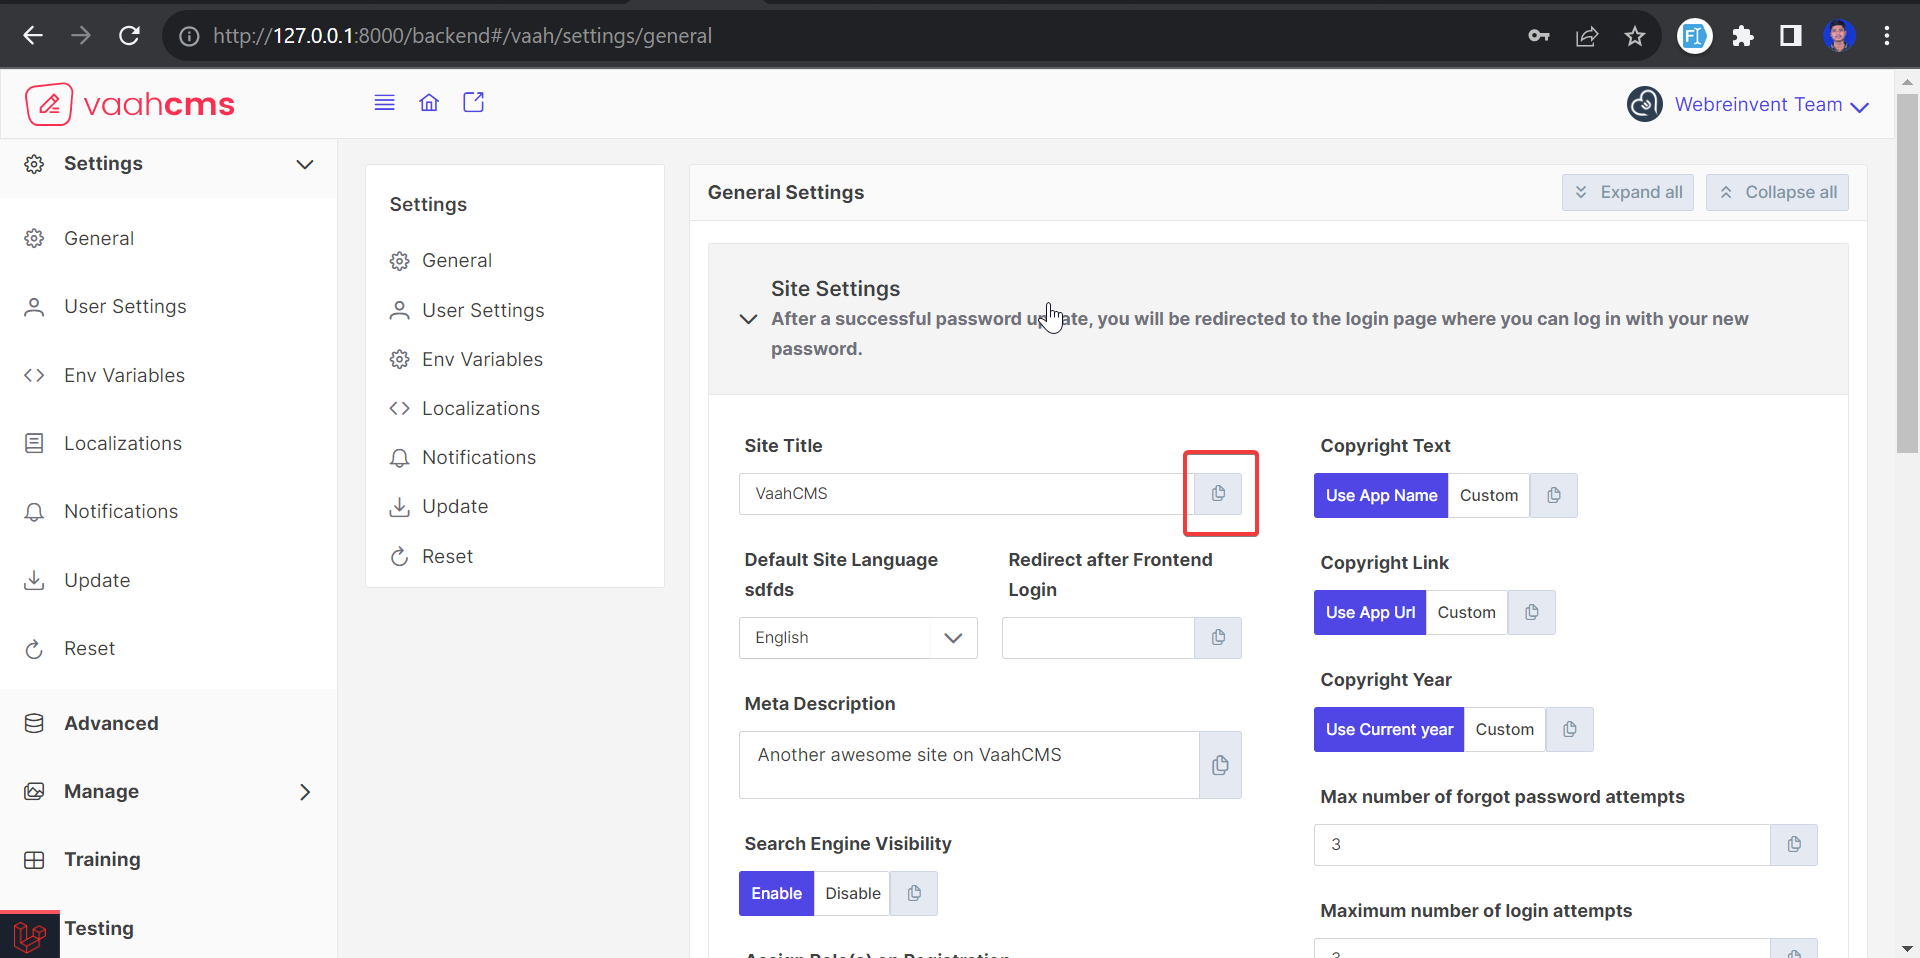
Site Settings
In this setting we are configuring the behavior of the application.
Below Image is a example of Site settings.
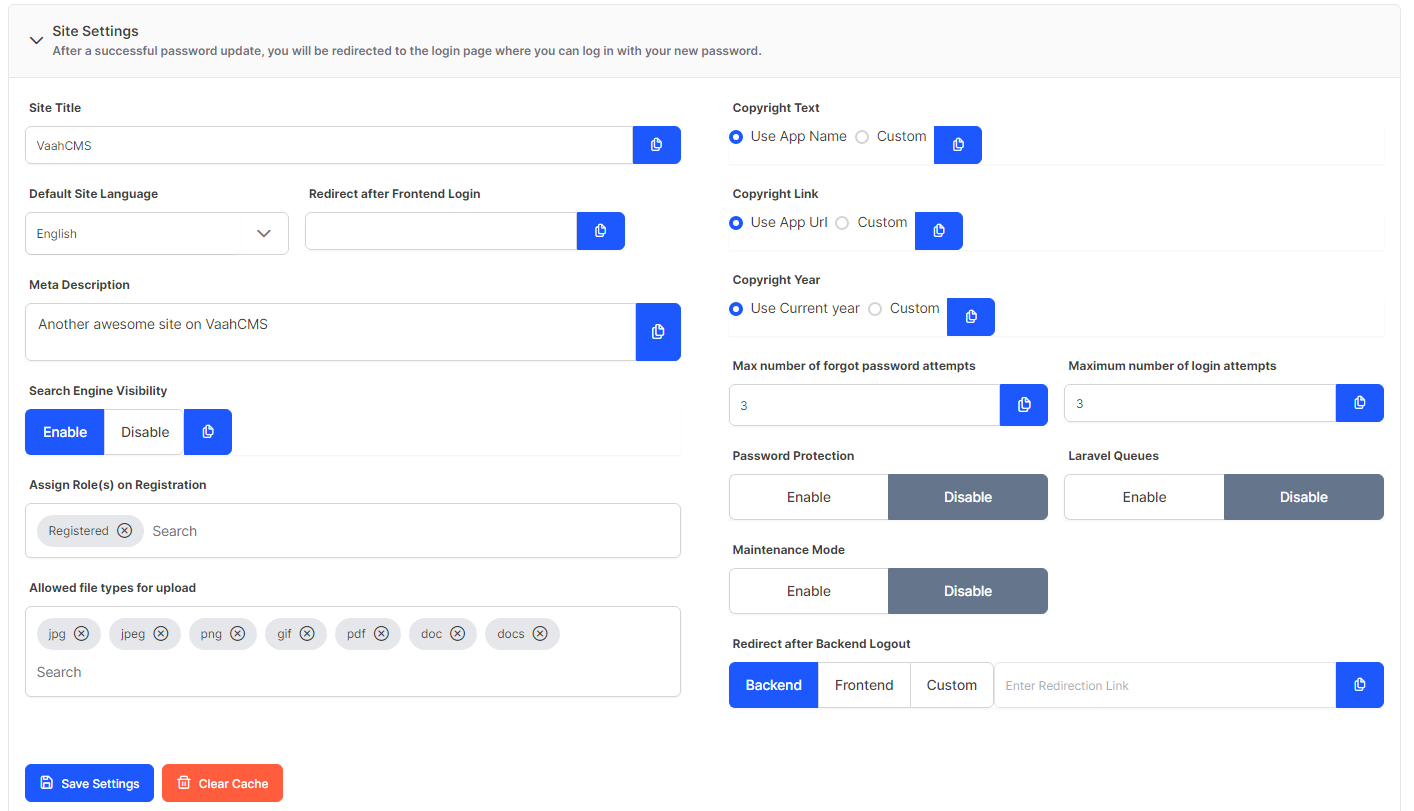
Follow the lists below to know about site settings
| Title | Description |
|---|---|
| Site Title | The value in this field will reflect as a title in frontend application. |
| Default Site Language | The value in this field will be set as default through out application. |
| Redirect after Frontend Login | This will allow user to redirect after login in frontend side. |
| Meta Description | Short description of the application. |
| Search Engine Visibility | This is known as seo visibility. |
| Assign Role(s) on Registration | This value will be the status of a user after registration. |
| Allowed file types for upload | This will allow user to upload files of particular types. |
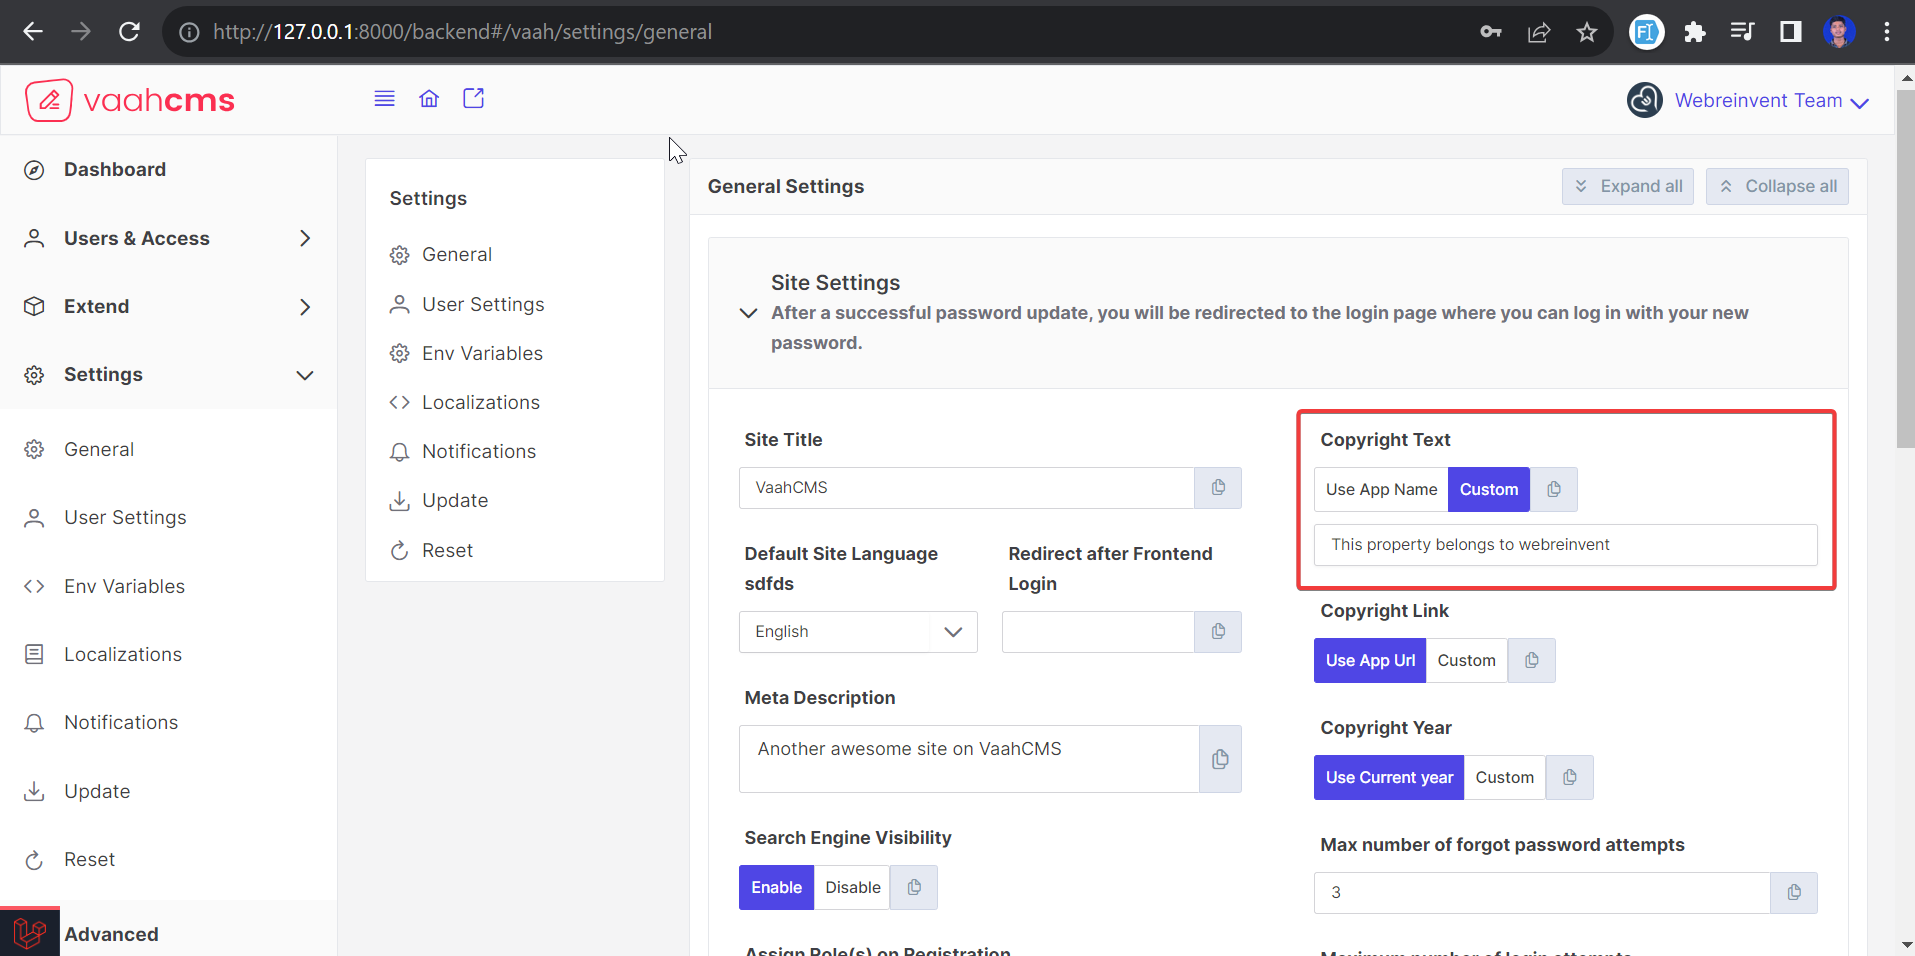
| Copyright Text | This will show in footer. Custom option is there one can show it's own words. |
| Copyright Link | This will show in footer. Custom option is there one can show effective link |
| Copyright Year | This will show in footer. Custom year option is there. |
| Max number of forgot password attempts | This will allow user to attempt forgot password. If the number of attempts exceeds from given number it will take action. |
| Maximum number of login attempts | This will allow user to fixed login attempt. If the number of attempts exceeds from given number it will take action. |
| Password Protection | This will help to masking password at the time of login or registered. |
| Laravel Queues | This will enable the queue feature of laravel in vaahCMS. |
| Maintenance Mode | This will show a message for maintenance if it is enabled. |
| Redirect after Backend Logout | After logout where should it redirect, login page, frontend or other this feature is for. |
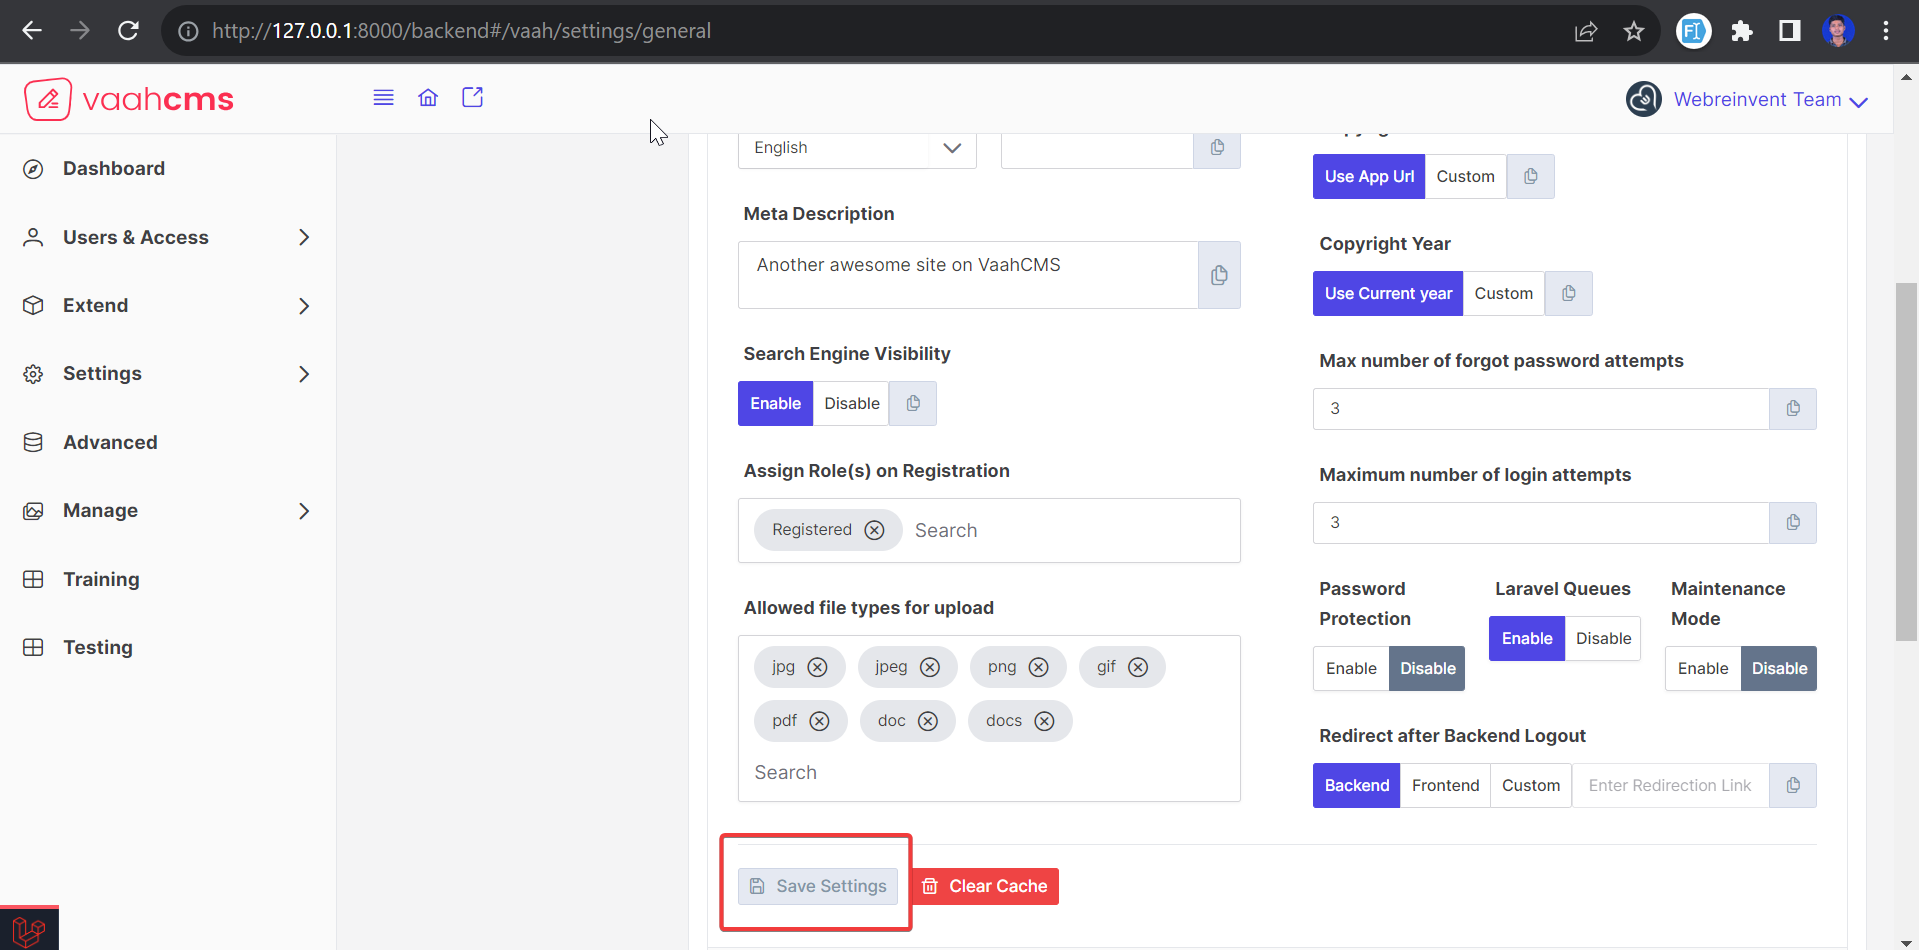
After set all the configuration you need to click on Save Setting button to achieve those effect.
There is also Clear Cache button which will help user to clear by pressing a button, after that it will log out and take to the login page.
Overview of Site-Setting
1.Frontend Welcome Page
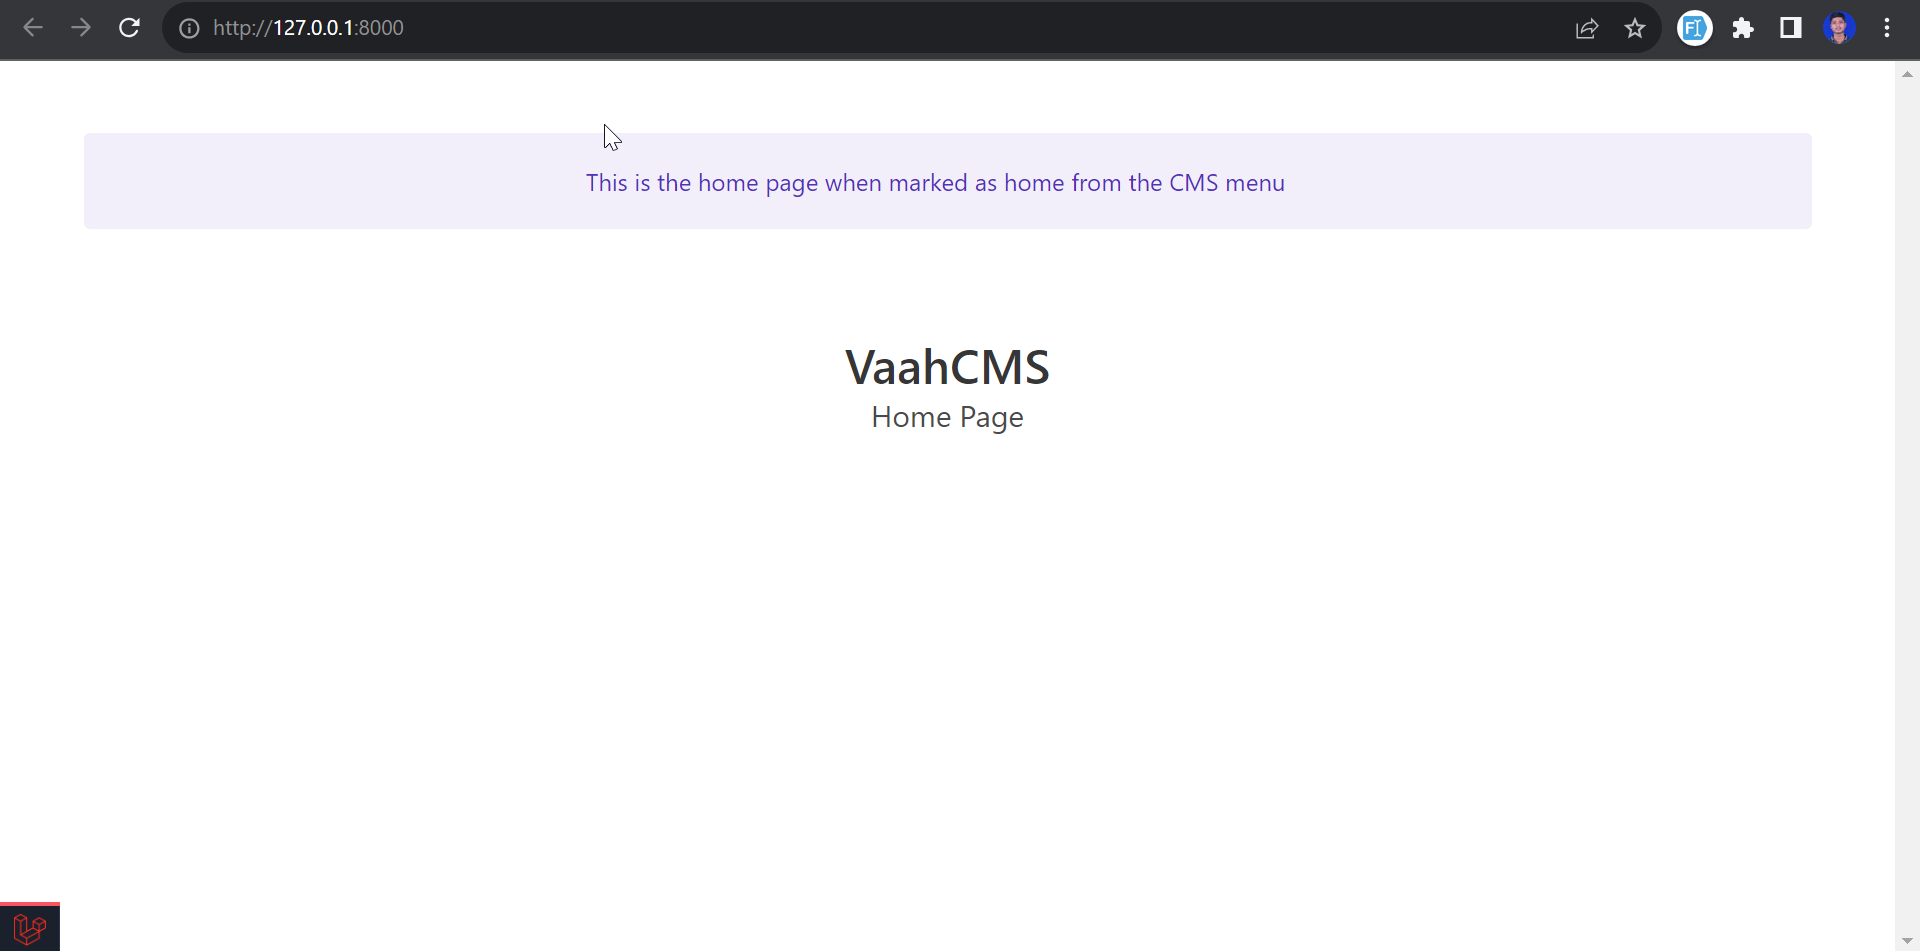
In the frontend of your website, there are various elements like the site title, headings, and other content that visitors see. These elements are what create the user experience.
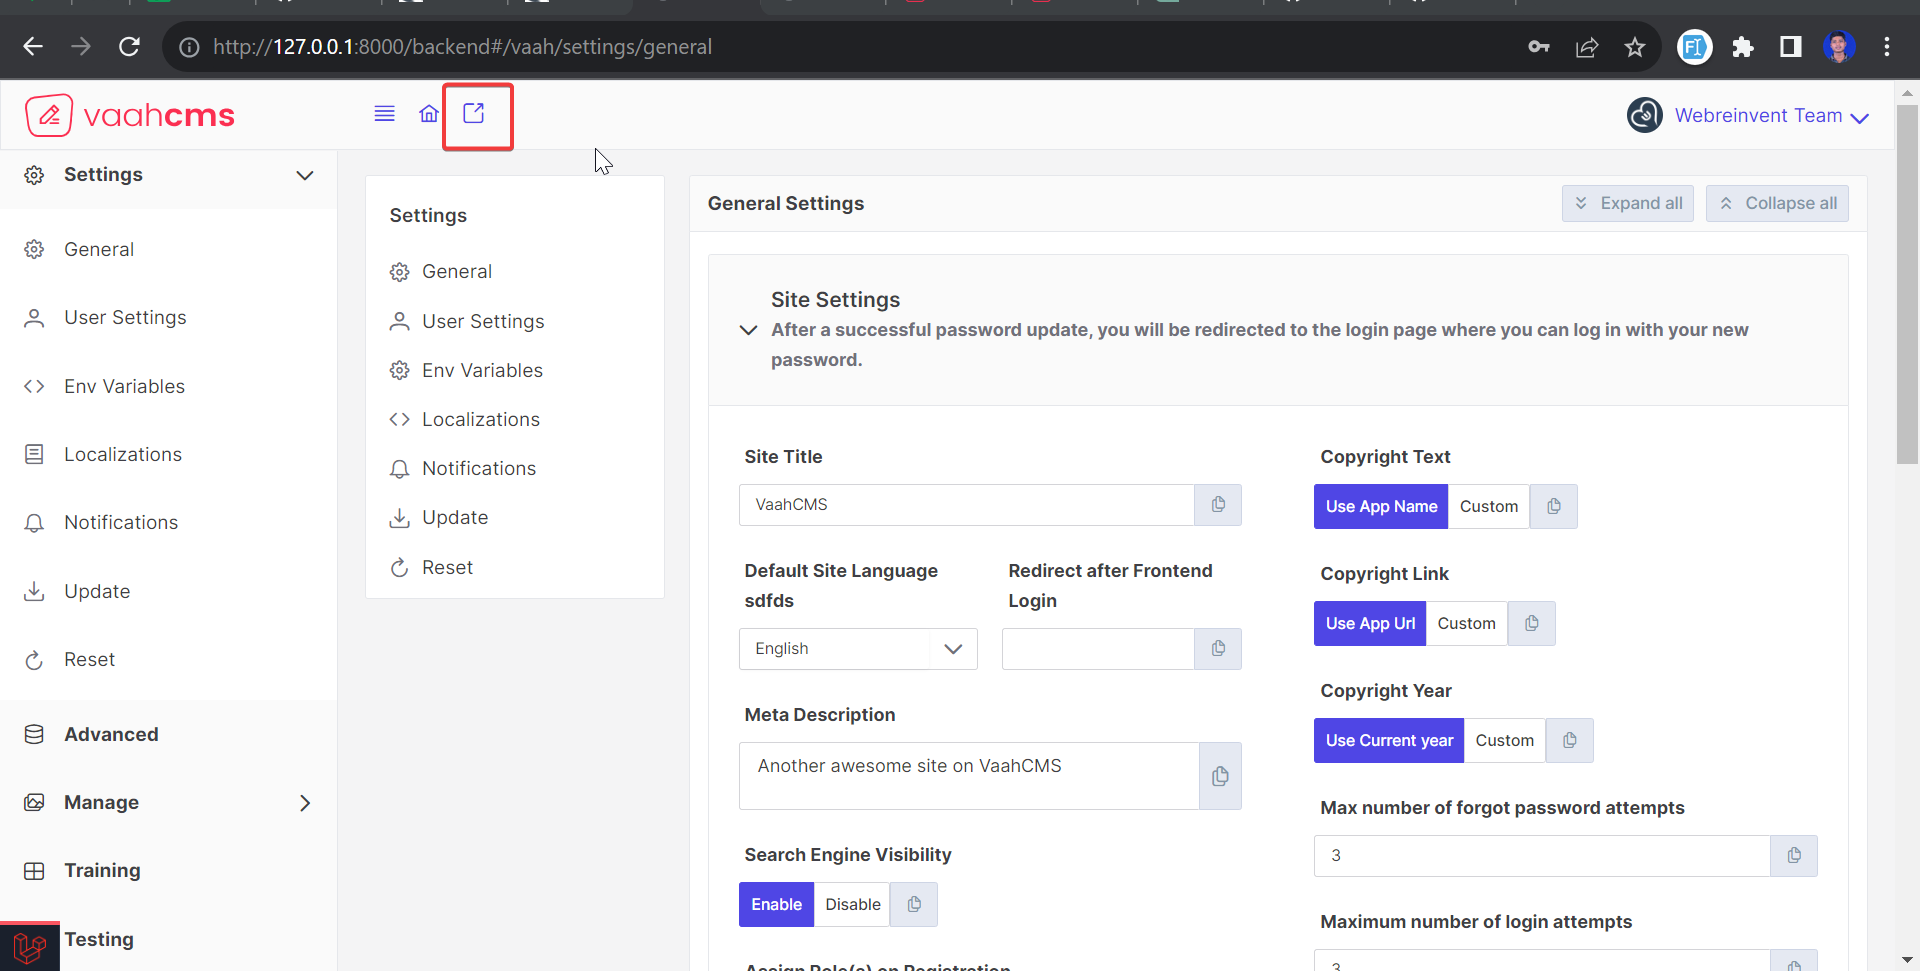
2.Accessing the Backend
Now, when you switch to the backend of your website, you'll find an icon, often represented as a home icon. Clicking on this icon takes you directly to the default frontend page. It's a handy shortcut to quickly view your website as visitors do.
The Frontend Page Will Look like this
3.Changing Site Title and Content
When it comes to making changes to elements like the site title or other content displayed on your
website, you typically have two options. The first is to manually edit the code responsible for these
elements. For instance, you could navigate to the themes section of your website, specifically the
resource views, and locate the default.blade.php file. In this file, you can modify the title name.
4. Using the Backend:
However, the manual method can be time-consuming and requires technical knowledge. An alternative and much more convenient approach is to use the backend of your website. The backend provides a user-friendly interface for changing settings like the site title, copyright text, and more. It simplifies the process and doesn't require you to delve into the code.
Purpose of Copy Button
The Copy Button is used to provide quick way to copy the code for specific settings,
such as the site title or copyright text, from the backend configuration to their frontend pages.
This simplifies the process of ensuring that changes made in the backend are reflected in the frontend
without users needing to manually update these values. It essentially automates the synchronization of
dynamic content like titles, copyright text, and other settings, enhancing user convenience and ensuring
consistency in the displayed content across the website.
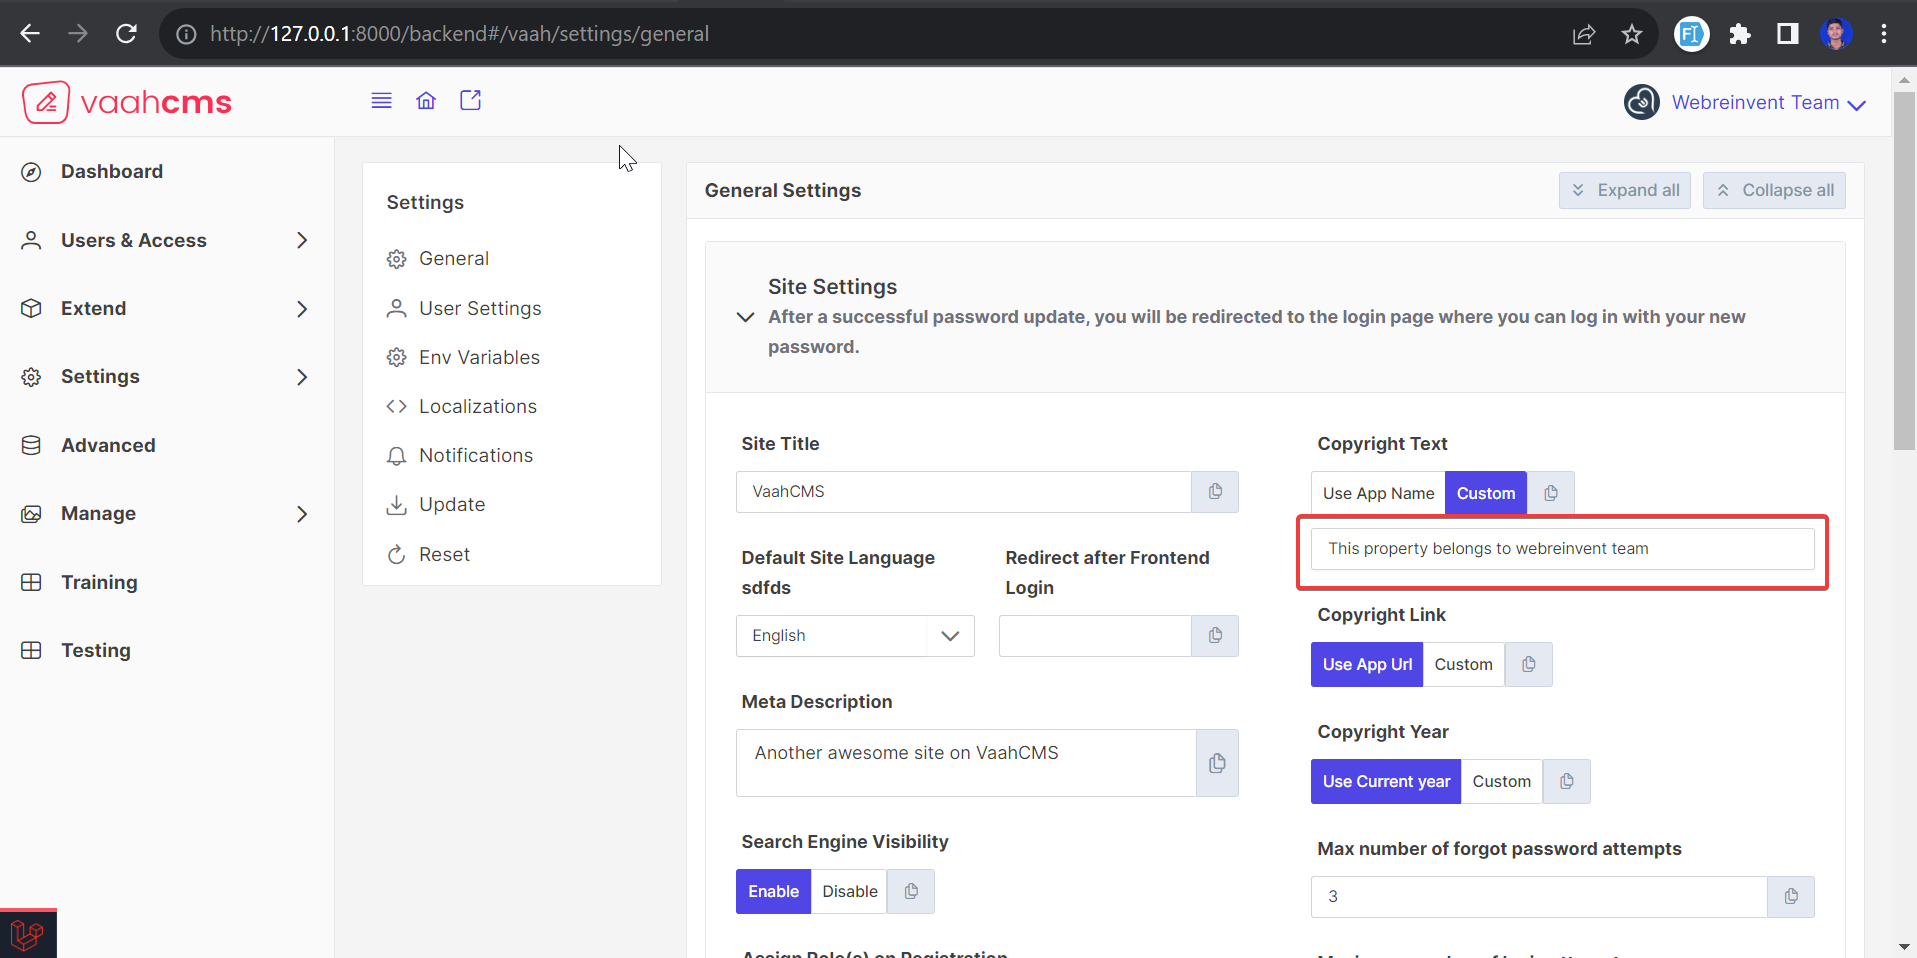
1. Adding Copyright Text in the Backend
In backend, you have the option to customize various settings, including the copyright text. Let's say you want to update the copyright text to display on your homepage.
2. Accessing the Copyright Text
Navigate to the backend settings where you can edit the copyright text. Once you're there, you'll find a field for the copyright click on the custom and then appear a text input. You can make your desired changes in this field.
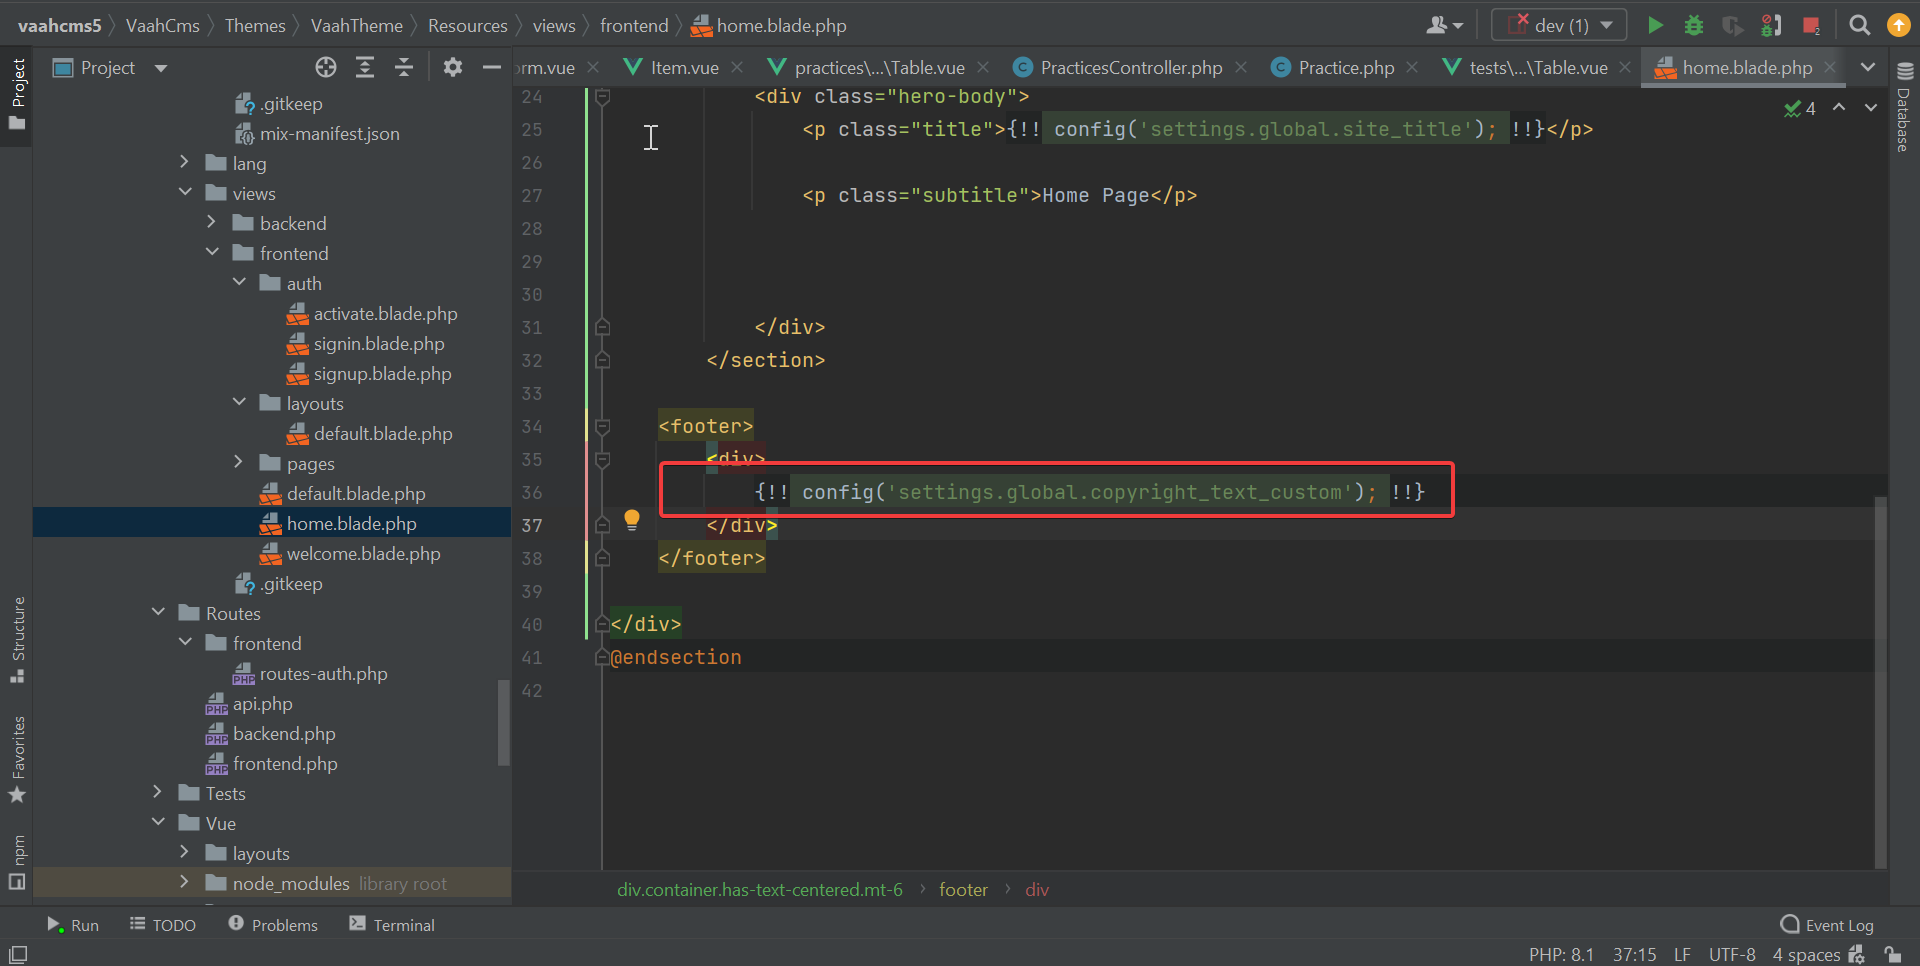
3. Using the Copy Button:
Next to the copyright text input field, there's a handy "Copy" button. When you click on this button, it copies the code associated with the copyright text.

4. Adding Copyright Text to the Homepage
Now, go to the page where you want to display the copyright text, which is typically your homepage. Instead of manually entering the copyright text, you can paste the copied code directly onto your homepage file . we are showing the copyright text into homepage you can show where you want Go to Themes->Resource->Views->frontend->pages->home.blade.php file .
5. Saving the Setting
Once you've pasted the code on your homepage, you can save the changes. This ensures that the copyright text is now dynamically linked to the setting you updated in the backend.
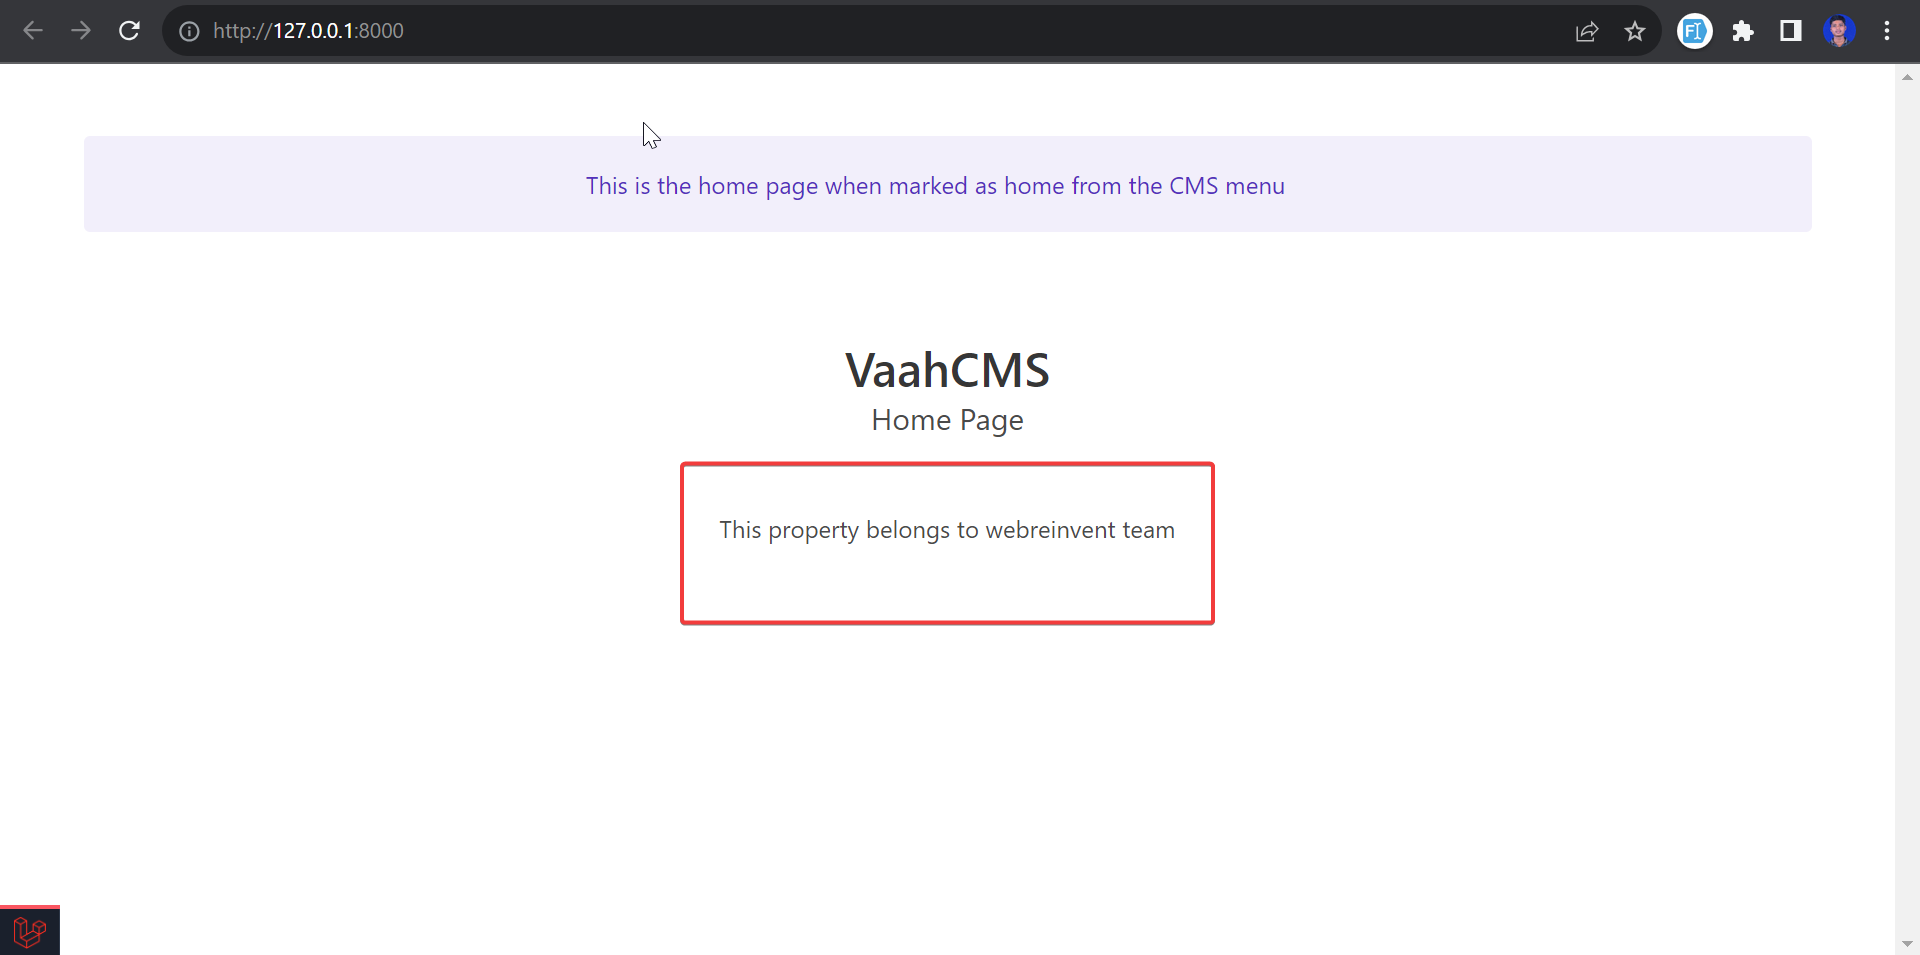
Now Your Welcome Page look like this in the image you can see the copyright text

6. Future Copyright Text Changes
Suppose you need to update the copyright text in the future. Instead of manually editing the text on your homepage again, you can simply return to the backend settings.
7. Updating Copyright Text
In the backend settings, make the desired changes to the copyright text. After you've made your adjustments, click on the "Save Setting" button to save the updated copyright text.
8. Automatic Update on Homepage
Here's the magic: When you save the setting in the backend, it automatically reflects those changes wherever you've placed the copyright text code on your homepage. You don't need to manually edit the homepage code each time you update the copyright text.
Below video will help to understand about site settings :
Securities
This setting provides Multi-Factor Authentication Securities to the site during the login.
Below image is of Securities settings.
In the above image you can see there are 3 options available:
1.Disable
2.Enable for all users
3.Users will have options to enable it
We will get to know about all of these methods one by one
1. Disable
When you enable this option, then users will be able to login directly with their userID and password.
NOTE
This method is selected as default in VaahCMS
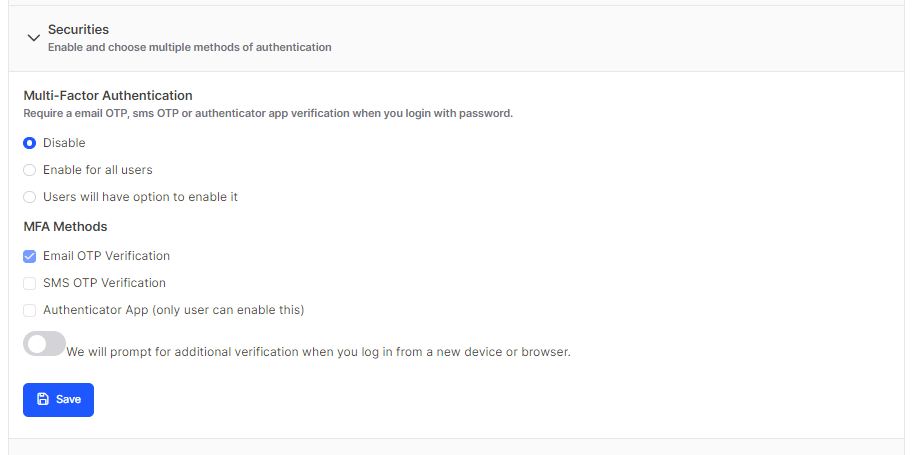
2. Enable for all users
When you enable this option, then you also need to choose MFA Methods by which the users will be verified when they login to the VaahCMS.
Currently we have got three MFA methods in VaahCMS for verifying the users:
- Email OTP Verification
- SMS OTP Verification
- Authenticator App
Follow below image for reference: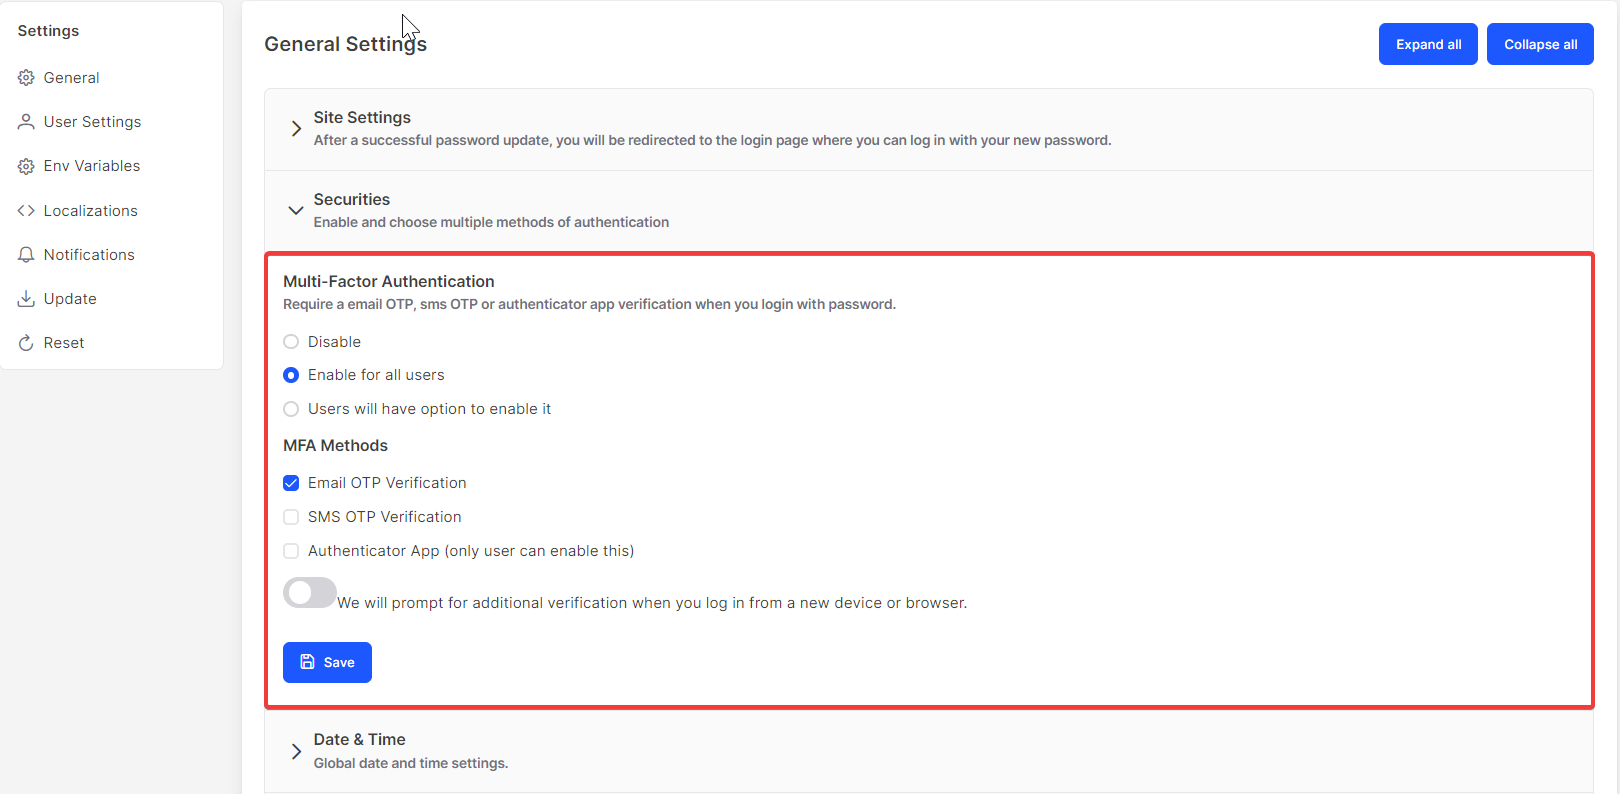 If you choose
 Email OTP Verification then the user will also need to enter the OTP which will be sent to their email when the user try to login.
After selecting the option you also need to click on save button.
Follow below image for reference: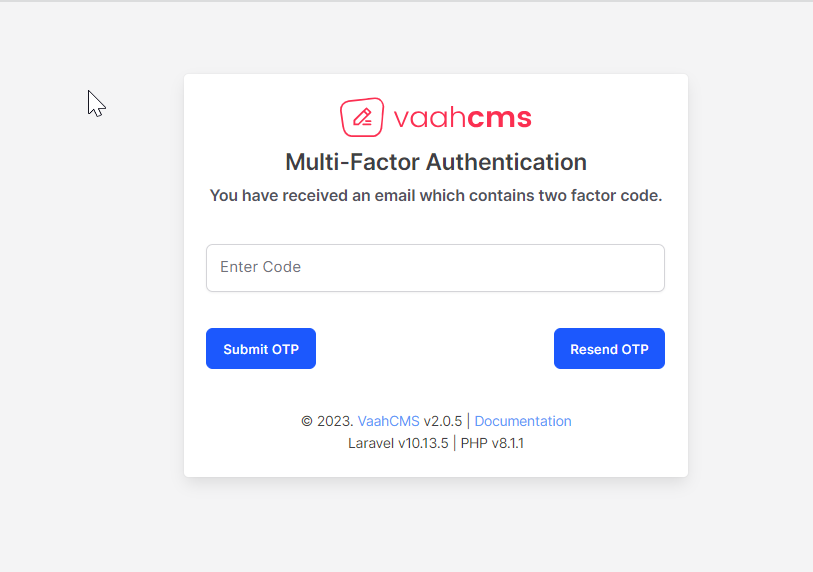
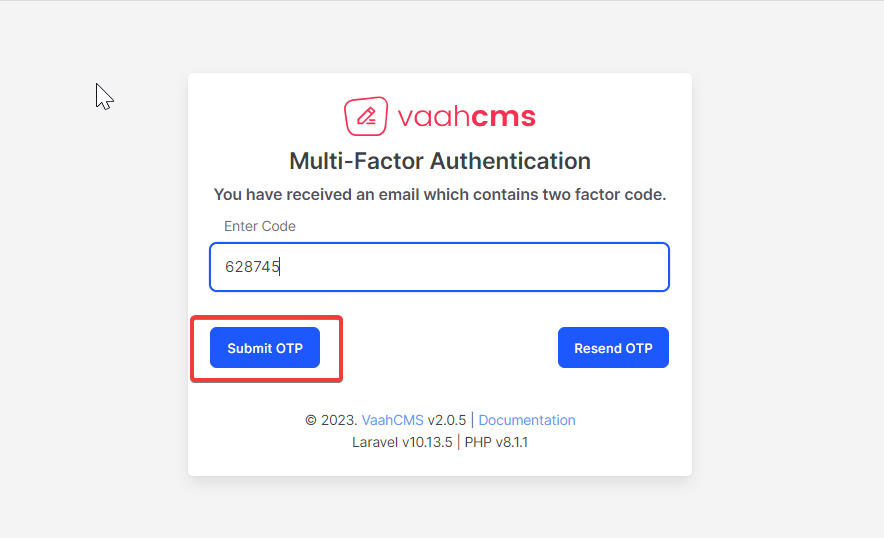
After entering the OTP you need to click on Submit OTP button, then you will be successfully login to the VaahCMS.
Follow below image for reference:
3. Users will have options to enable it
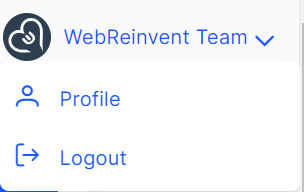
In this method the users will have the option to enable it. For this they will need to go to their profile section.
Follow below image for reference:
In the profile section,they will need to scroll down and check the Email otp verification checkbox and click on Save MFA button.
Follow below image for reference:

Once they enable Multi-Factor Authentication from their profile section, then they will also need to enter the OTP which will be sent to their email when they try to login.
Follow below image for reference:
After entering the OTP you need to click on Submit OTP button, then you will be successfully login to the VaahCMS.
Follow below image for reference:
Date & Time
This setting is to set the format of the date, time and date&time. Each format get a dropdown, where some fixed formats are there. Also there is custom option available to avail user defined format.
Below image is of Date & Time settings.
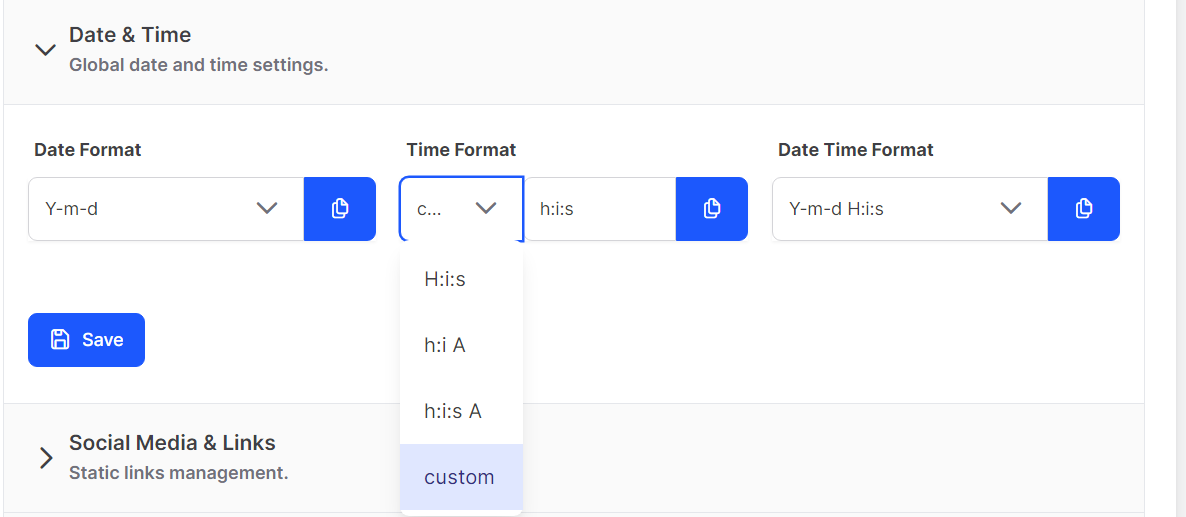
After set the format of the Date and Time you need to click on the Save.
Social Media & Links
This is for managing social media and its links.
Below image is of Social Media & Links settings.
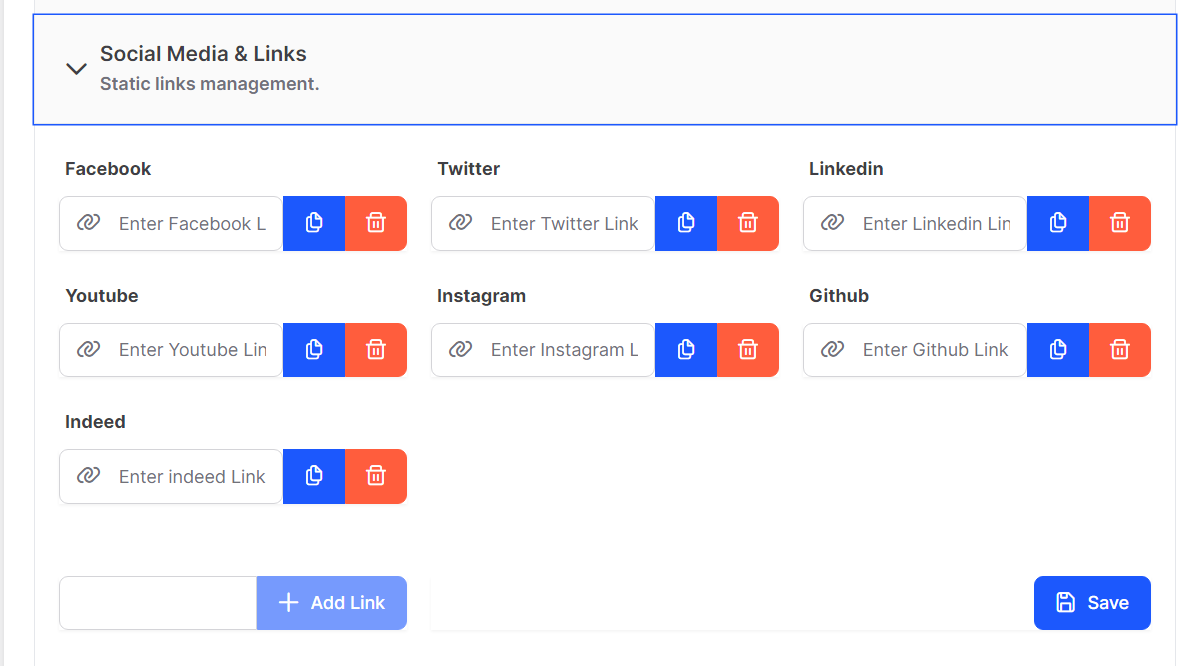
Here one can add new social media link also remove old one if not useful.
Watch the video below to know How to Manage social media & its links :
Scripts
In this section you can put Google Analytics script tags. Here we can put tags in two parts, one inside head and another one inside body.
Below image is of Scripts settings.
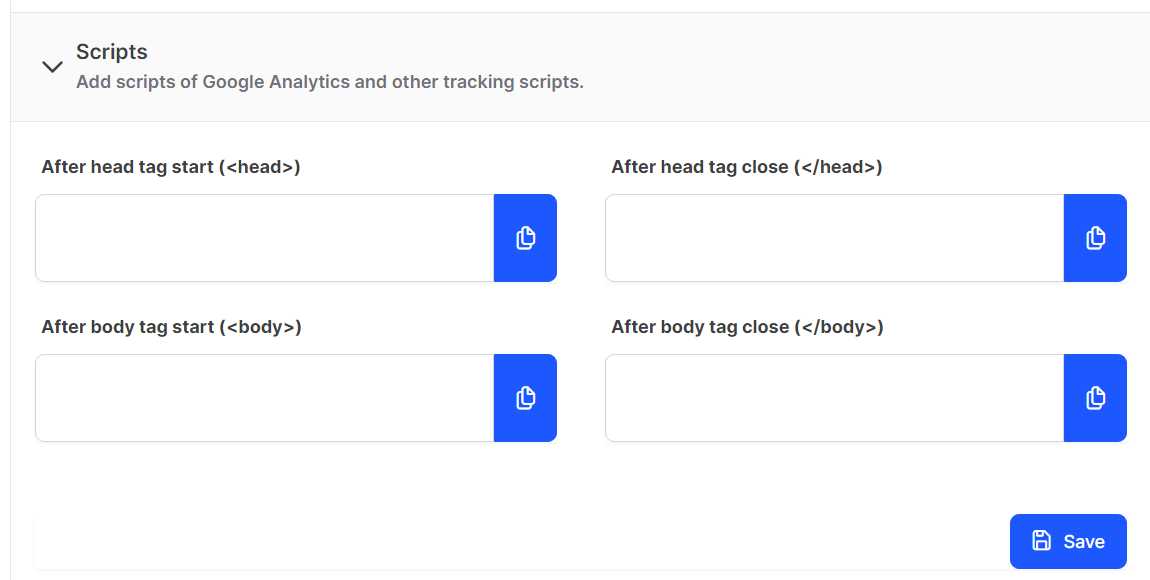
After put tags inside these four fields click on Save to store the configuration for Script Tag
Meta Tags
VahhCMS has meta tag updating section where we can add our custom meta tag. VaahCMS presents two meta tags, which is
Google Webmaster & Open Graph(Facebook).
Below image is for reference:
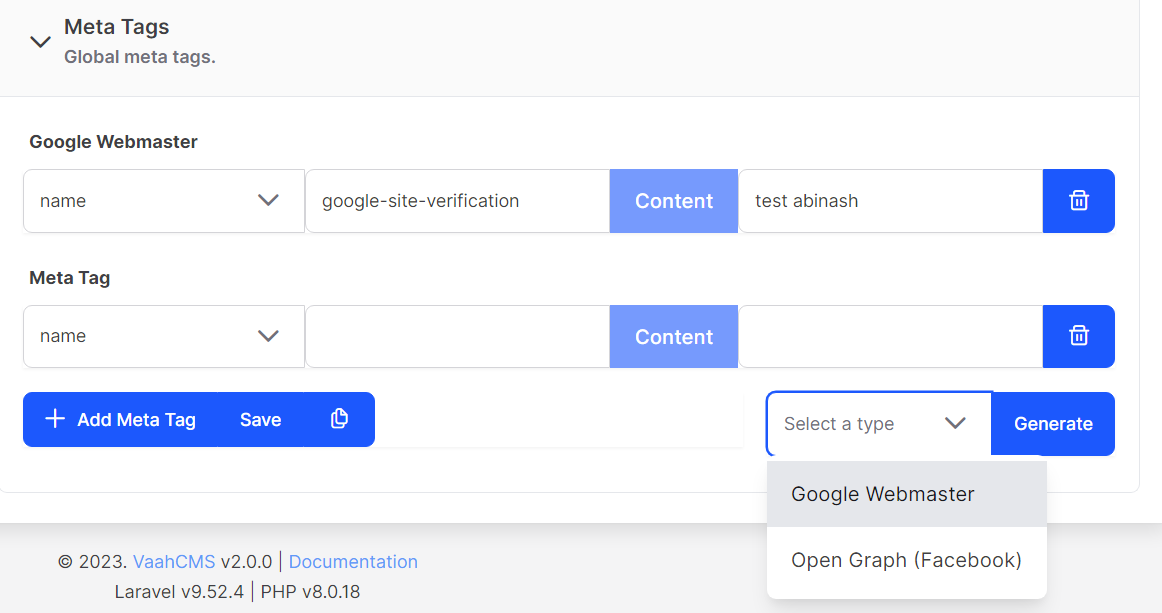
One can add a tag by clicking Add Meta Tag button. It will add a tag there you need to define some property.
Below video will help you to understand how to add a Meta Tag:
How to create Setting
You can create a Setting through Seeds and add a field on Setting Form for that Setting.
Create a json file of name settings.json at <module>/Database/Seeds/json/ this directory.
Write this code in settings.json file.
[

    {
        "category": "global",
        "key": "site_title",
        "value": "VaahCMS"
    },
    {
        "category": "global",
        "key": "site_description",
        "value": "Another awesome site on VaahCMS"
    }

]
You have to create seedSetting() method in DatabaseTableSeeder.php file.To run this seed, And you have to Deactivate and Activate you Module
 function seeds()
    {
     $this->seedSettings();
    }

public function getListFromJson($json_file_name)
    {
        $json_file = __DIR__."/json/".$json_file_name;
        $jsonString = file_get_contents($json_file);
        return json_decode($jsonString, true);
    }

public function seedSettings()
    {


        $list = $this->getListFromJson("settings.json");

        foreach($list as $item)
        {
            $exist = \DB::table( 'vh_settings' )
                ->where( 'category', $item['category'] )
                ->where( 'key', $item['key'] )
                ->first();

            if (!$exist){

                if(isset($item['type']) && $item['type']=='json')
                {
                    $item['value']=json_encode($item['value']);
                }

                \DB::table( 'vh_settings' )->insert( $item );
            } else{
                \DB::table( 'vh_settings' )
                    ->where( 'category', $item['category'] )
                    ->where( 'key', $item['key'] )
                    ->update($item);
            }
        }

    }
Themes
A theme is a set of files that define the visual look and feel of your site. The modules that run on your site determine which content (including HTML text and other data stored in the database, uploaded images, and any other asset files) is displayed on the pages of your site. The theme determines the HTML markup and CSS styling that wraps the content.
User Settings