Dashboard
Visit following url you will see the Dashboard section:
<public-url>/backend#/vaah
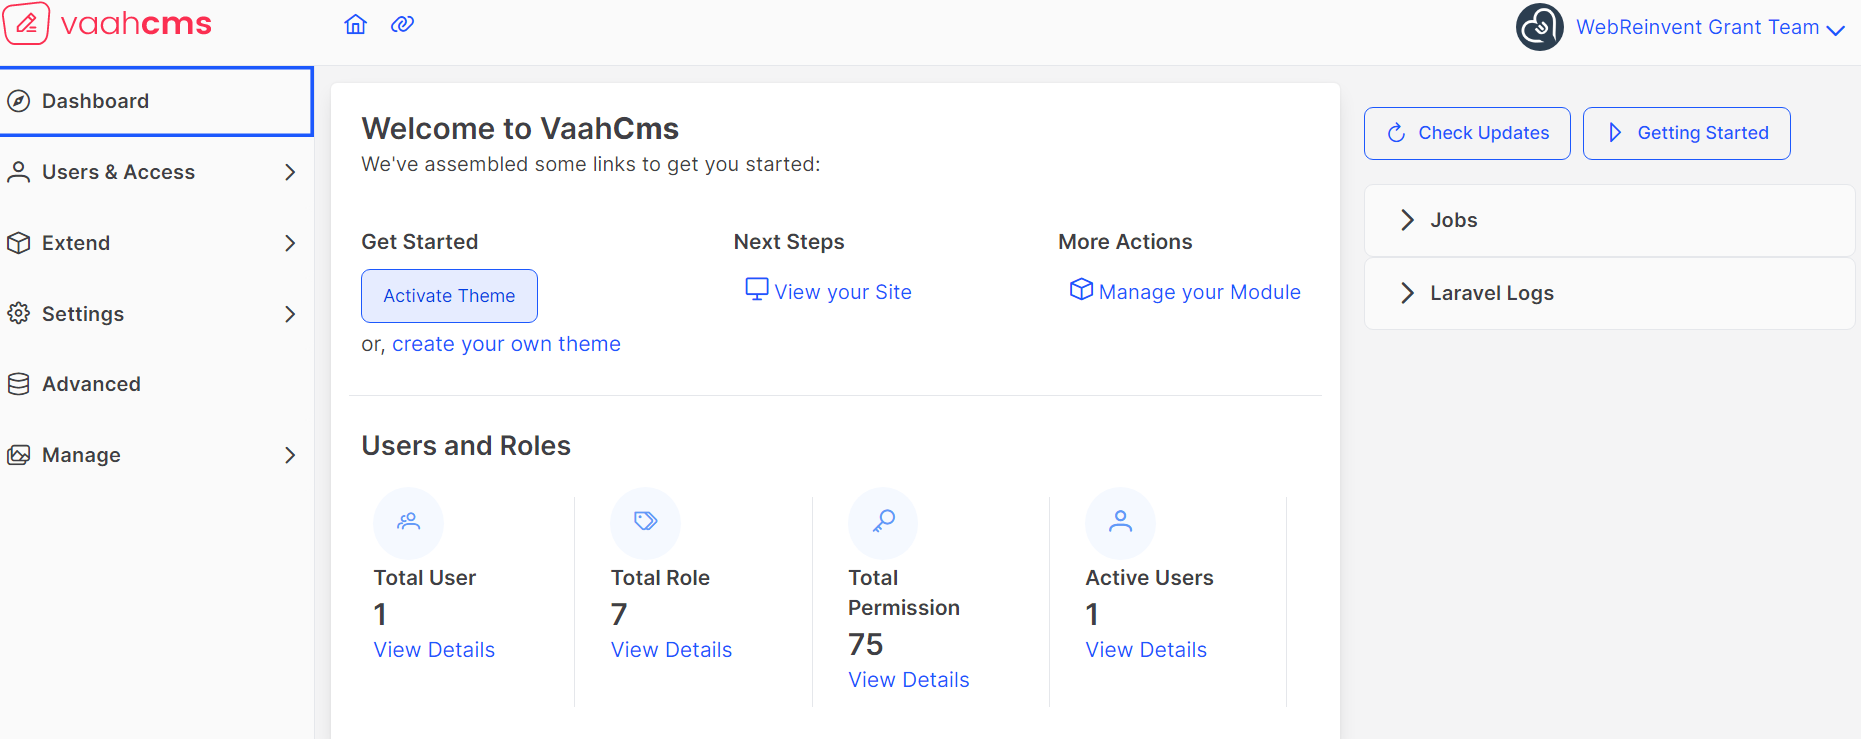
Below Image is an example of Dashboard.
Purpose & Features
NOTE
The main use of a dashboard is to show a comprehensive overview of data from different sources.
Dashboards are useful for monitoring, measuring, and analyzing relevant data in key areas.
The features we will discuss below
On the right side Getting Started button is there. It will redirect you to the documentation section if you are new to VaahCms.
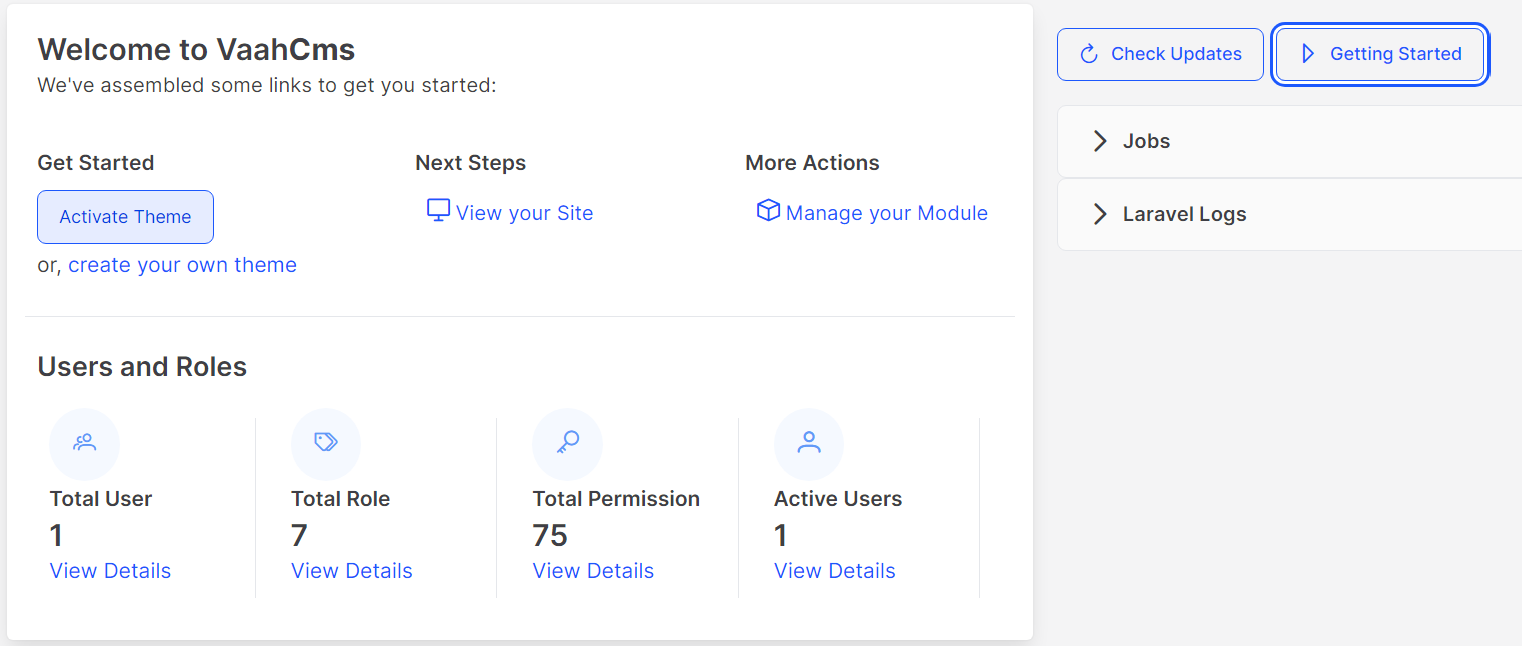
On the left side of Getting Started button Check updates button is there, which is to check whether update is available or not.
It will redirect to update section of settings.
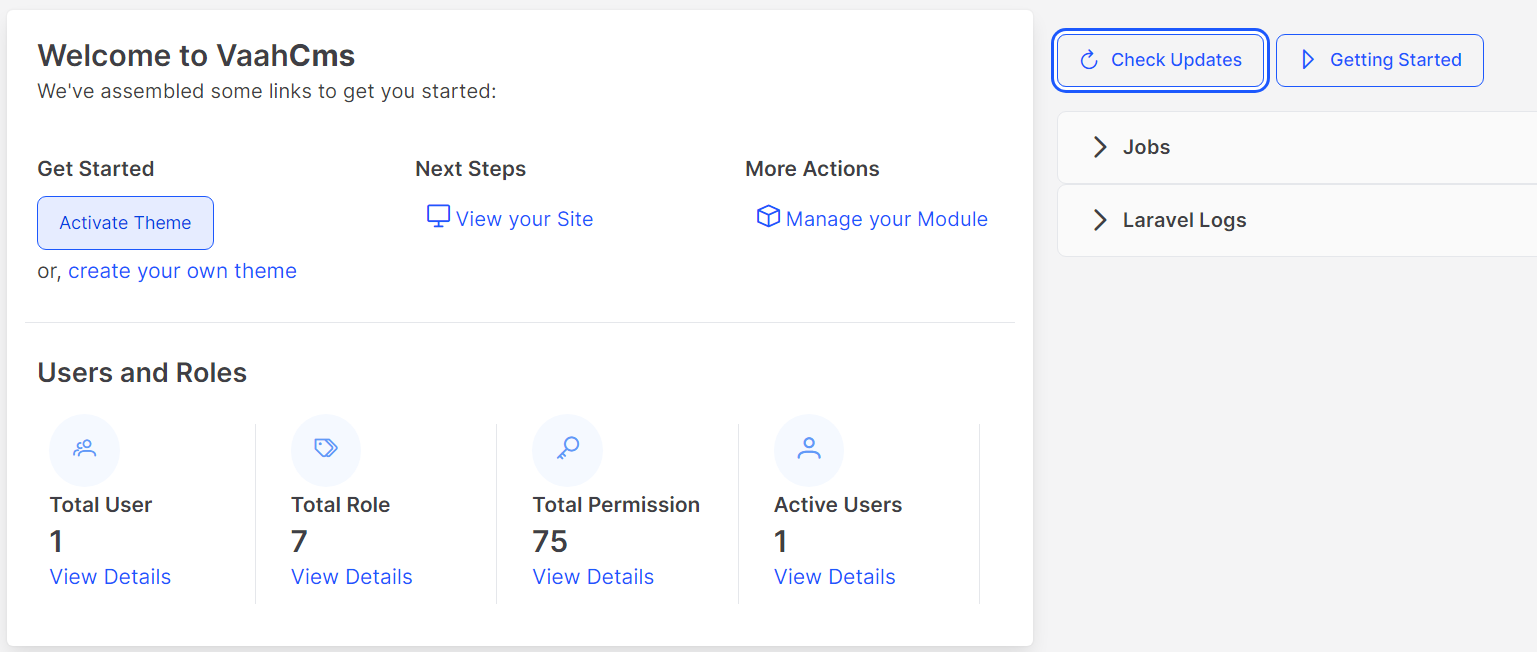
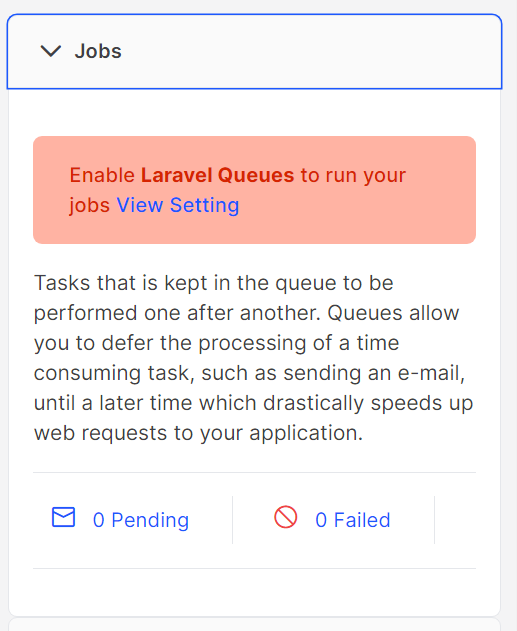
Below of these two button two accordion tabs are there Jobs & Laravel Logs.
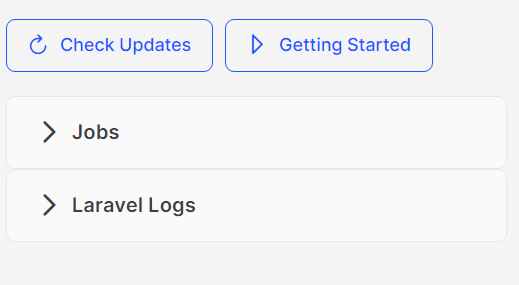
In Jobs tab describes the things related to laravel queue. There is two options
available Pending & failed , which will redirects to jobs and failed jobs section respectively.
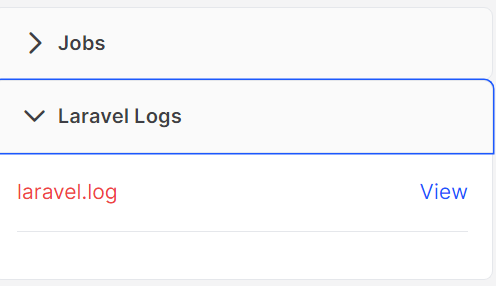
Another tab is about error logs of laravel. If any issue happen user can see the log list here.
For the details, user need to click view button to go to the details view of the log section.
At the middle section of Dashboard Two sections are there one is Manage sites
another one is User & access
| Buttons | Use for |
|---|---|
| Activate Theme | Redirect to List of themes section to activate one from there |
| View your Site | Redirect to the Auther's website of the activated theme |
| Manage your module | Redirect to Module section |
| View Details | Redirect to the respective section |
Add more feature on dashboard
when you want to show more options on the dashboard that time you can use this feature of vaahCMS. You can show your details.
Note:
You should create a module first.
Open extend controller
module/Http/Controller/Backend/ExtendController.php
Add this code in ExtendController.php
use VaahCms\Modules\HelloWorld\Models\Product;

   public function getDashboardItems()
    {

        $data = array();

        $data['card'] = [
            "title" => "Product Details",
            "list" => [

                [
                    "count" => Product::count(),
                    "label" => 'Total Products',
                    "icon" => "pi-shopping-bag",
                    "type" => "success",
                    "link" => self::$link."backend/helloworld#/products"
                ],
                [
                    "count" => Product::where('is_active',1)->count(),
                    "label" => 'Active Products',
                    "icon" => "pi-shopping-bag",
                    "type" => "success",
                    "link" => self::$link."backend/helloworld#/products"
                ],
                [
                    "count" => Product::where('is_active',null)->count(),
                    "label" => 'Inactive Products',
                    "icon" => "pi-shopping-bag",
                    "type" => "success",
                    "link" => self::$link."backend/helloworld#/products"
                ],
            ],
        ];

        $data['actions'] = [
            [
                'name' => 'Manage your Products',
                'icon' => 'pi-shopping-bag',
                "link" => self::$link."backend/helloworld#/products"
            ],
        ];

        $data['expanded_item'] = [
            [
                'title' => 'Product',
                'content' => 'content',
            ],
        ];

        $response['success'] = true;
        $response['data'] = $data;
        return $response;
    }
Before add this code
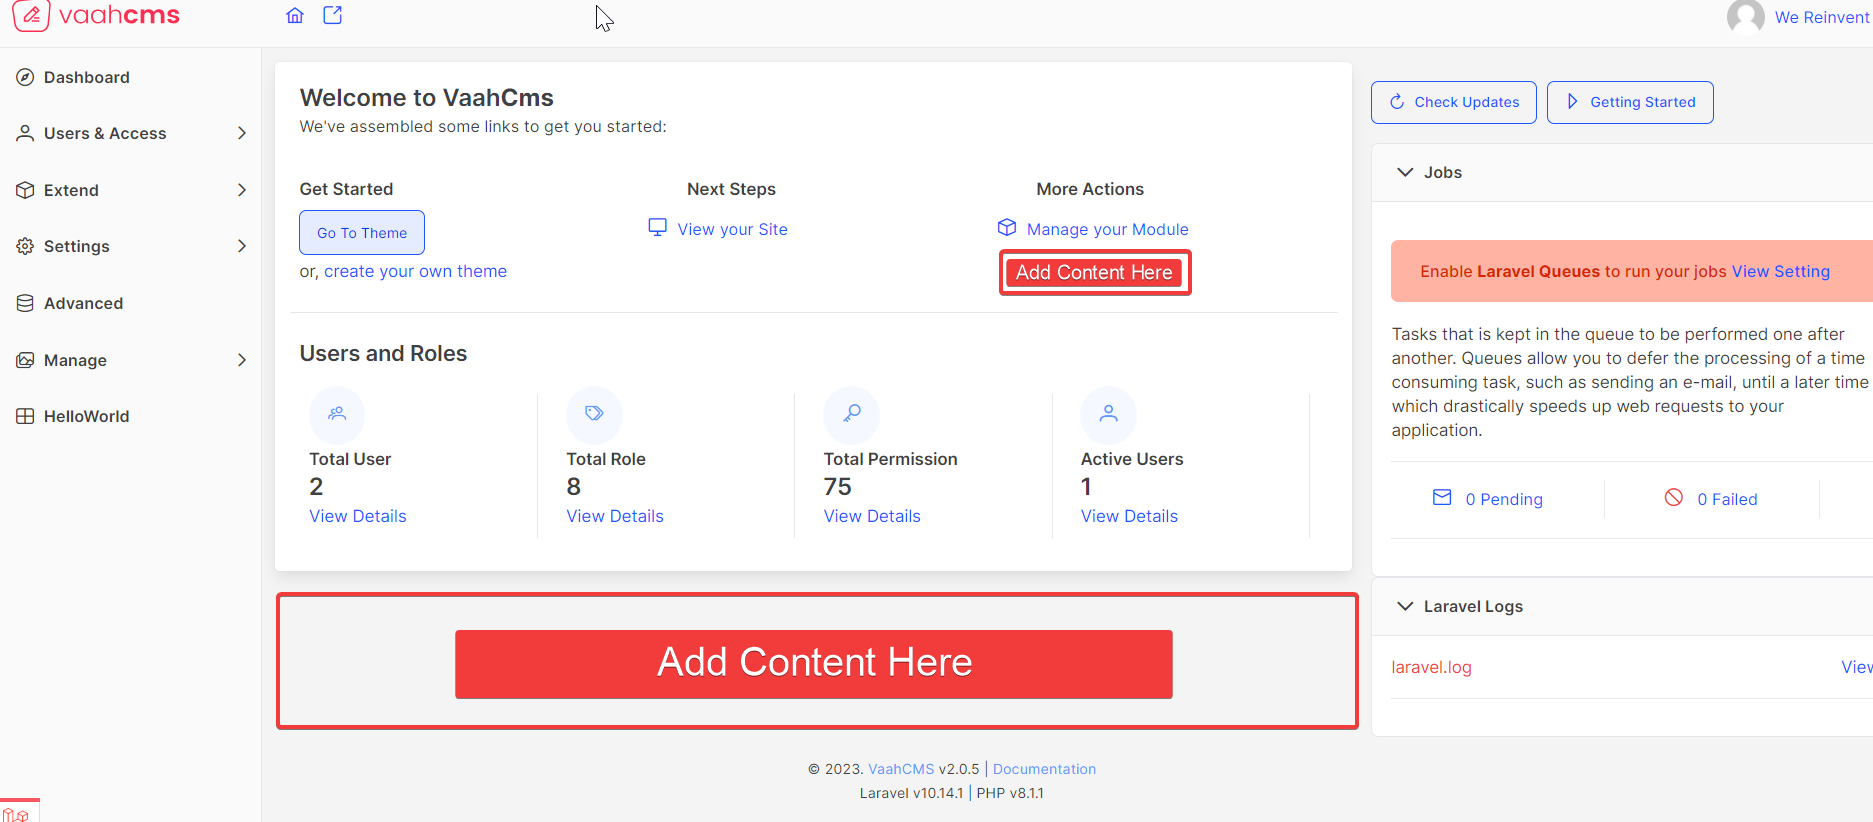
After add this code
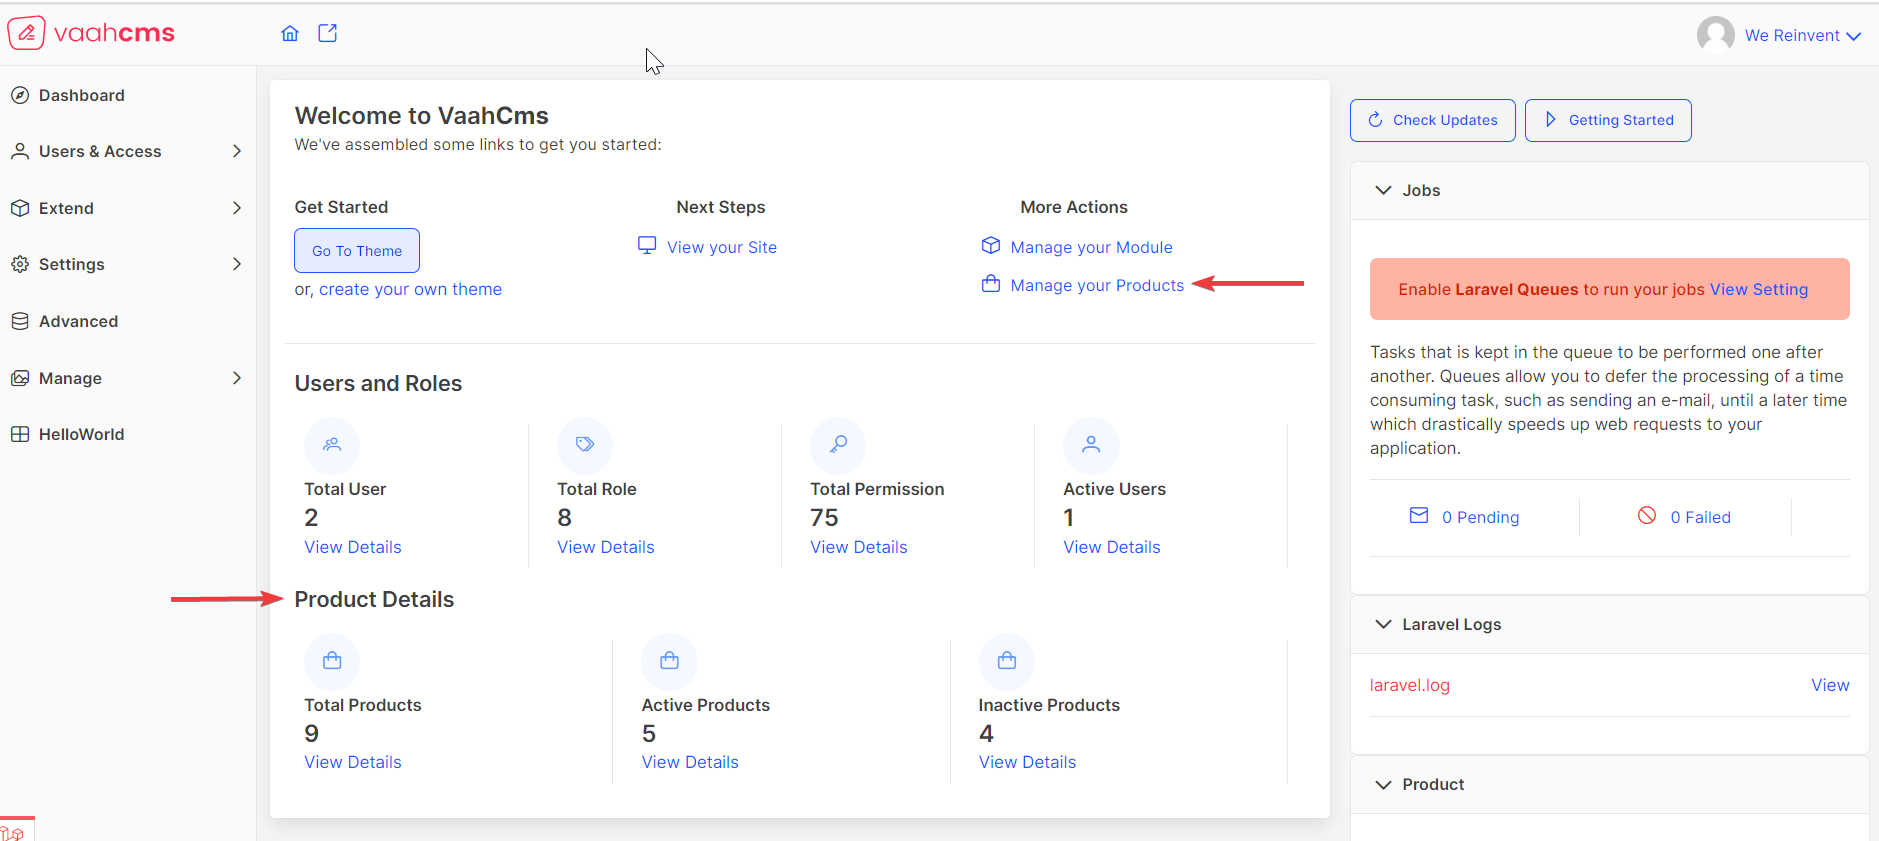
Now you can see here so many options. Total number of themes, total number of modules, cruds and more.
For more understanding watch this video.