Generate Themes in Vaah Cms
YOU'RE READING AN OUTDATED DOCUMENTATION.
Latest documentation of
VaahCMS 2.x is available at: Introduction
This is guide to teachs How to create Themes in VAAH CMS
Prerequisites
- node js installed
- vaah project directory
Step 1: Vaah Cli Installtion
To use Vaah generators to generate themes, install VaahCli Tool using
npm install vaah -g
or
npm i vaah -g
Step 2: Installation of Theme
Note: For this tutorial, we'll be creating Blog Theme.
Command that is used to generate a theme is:-
npx vaah cms:t
After triggering this command, it will ask for some information regarding the Theme. Like:-
- Name of The Theme you want to create. For example BlogTheme.
? Enter your theme name:- BlogTheme - More relevent name for your Theme. Example, Blog Theme etc.
? Enter meaningful title for your theme: Blog Theme - More details of the theme that explains more about what this theme contains and provides. Example, Blog Theme with Auth Page.
? Enter your theme description: Blog Theme with Auth Page - Name of the person creating the Theme. Or press enter to go with default value provided.
? Enter Author name: vaah - Email of the author. Or press enter to enter default value.
? Enter Author email: support@vaah.dev - Press enter for default value for Author website and Download Url.
? Enter author website: https://vaah.dev ? Enter download url: - Enter
trueif you want to run seeder for this theme. Else selectfalse.? Will your theme contains sample data (true/false): falseNote: All the seed files will be found in
root/VaahCms/Themes/<theme-name>/Database/Seedsdirectory.
After providing all the information, Theme will generated under project-root/Vaahcms/Themes..
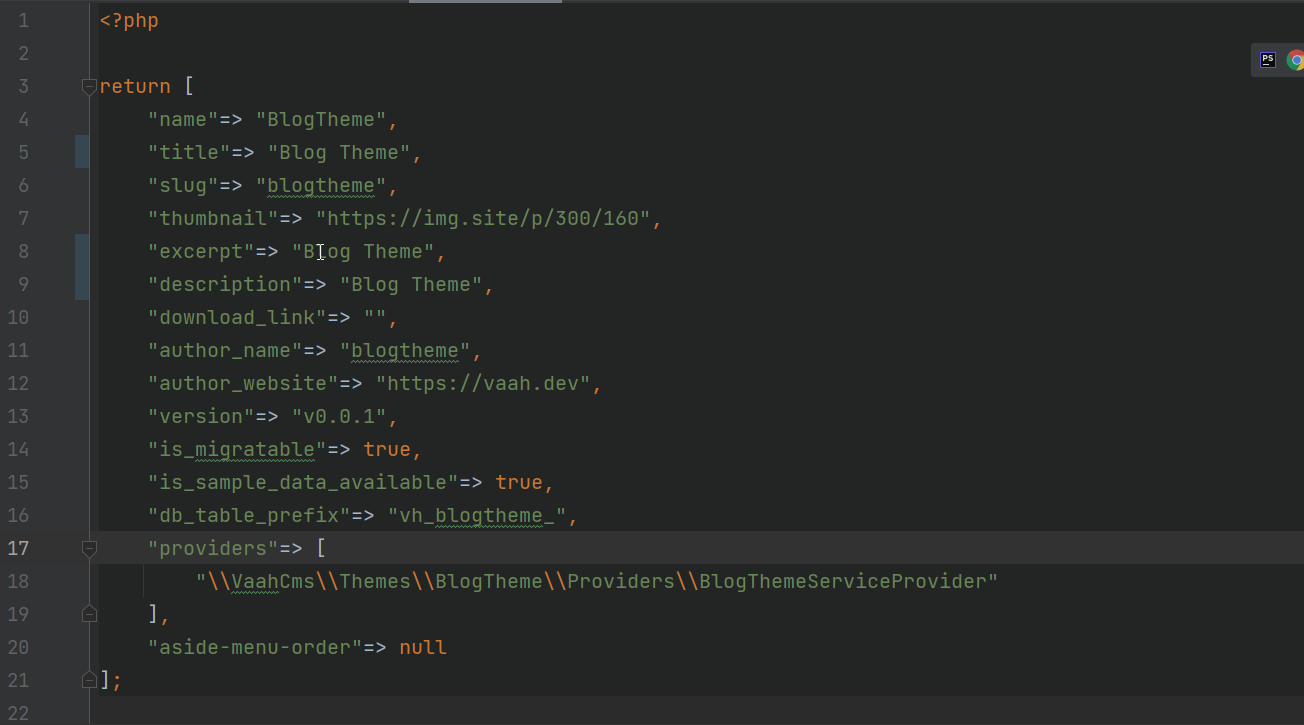
<theme-root-folder>\config\config.php contains the information that was enter while creating a theme and can be changed by making changes to config.php file.
Step 3: Activating a Theme
Go to:-
<your-site-url>/backend
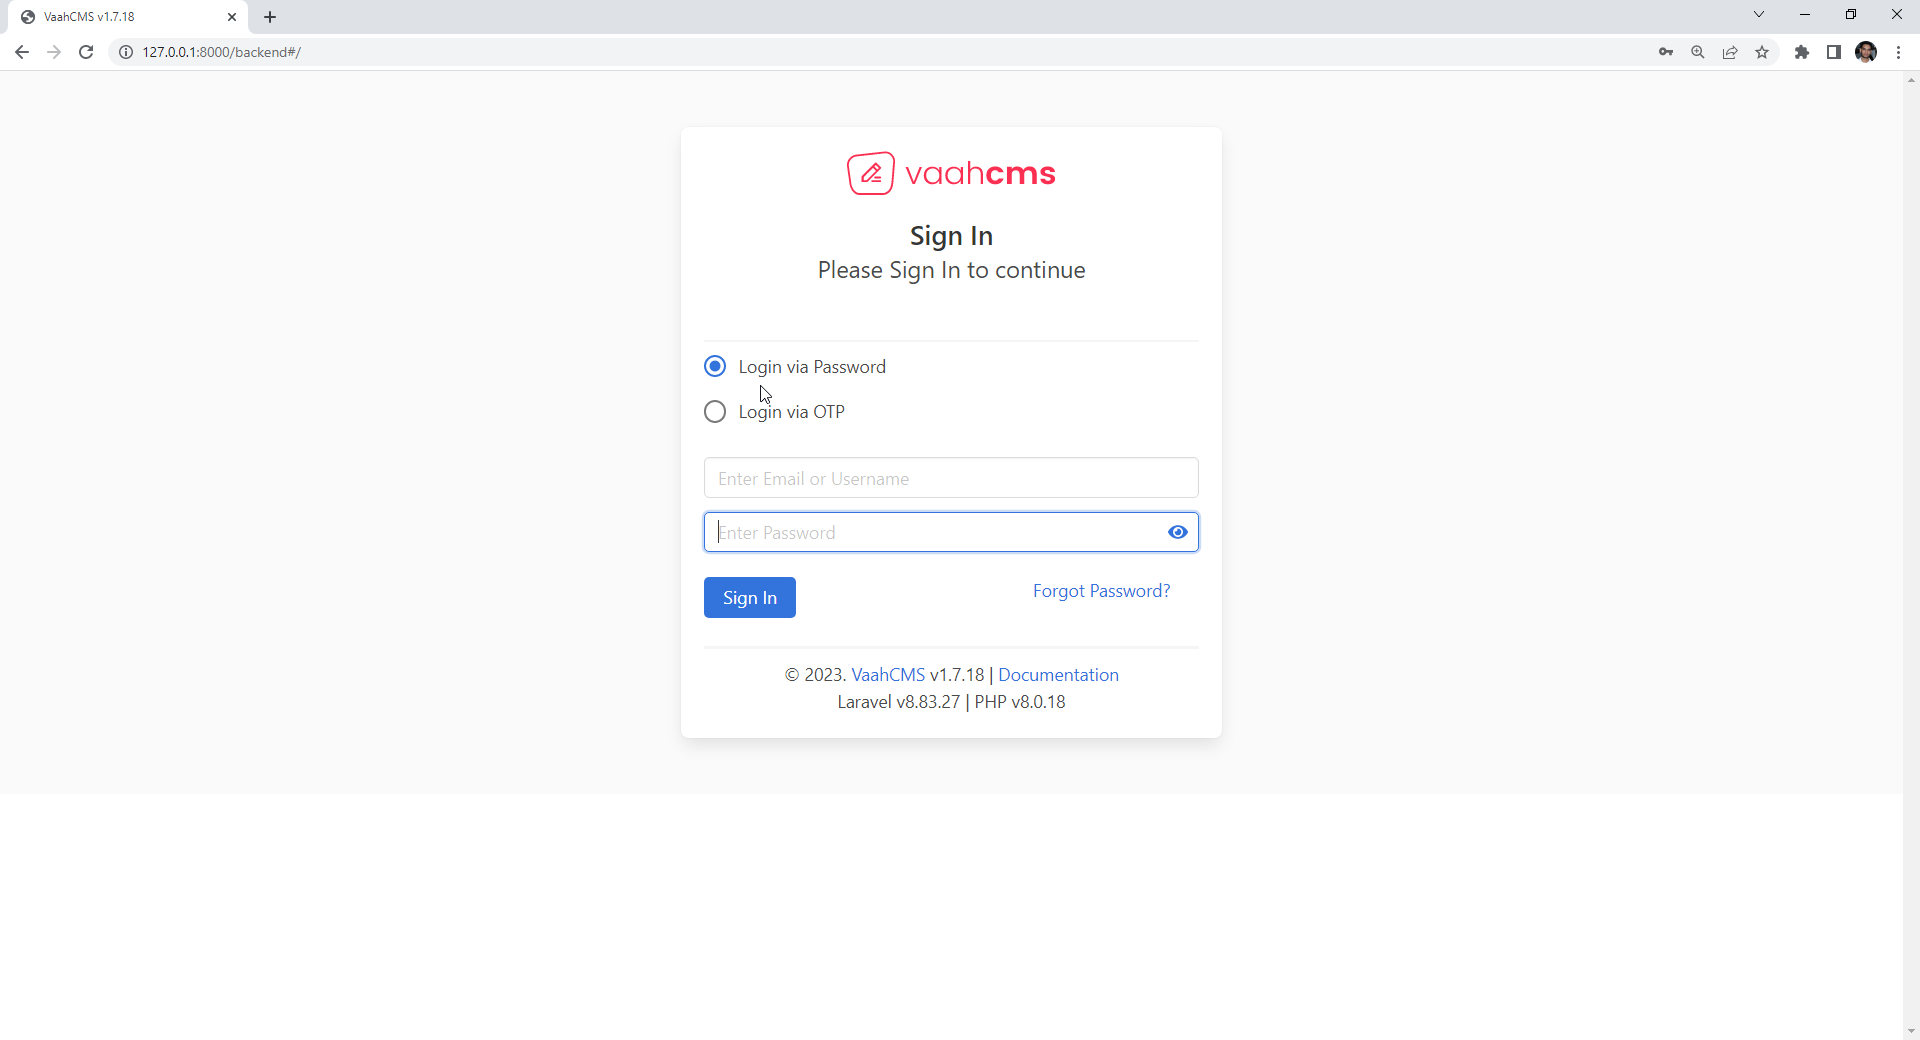
and login to the backend panel using credentials of the user that was created while the installation of VaahCms.
After that, on the sidebar, click on Extend and then click on Modules.
Or visit:-
<your-site-url>/backend#/vaah/themes/
to access Theme Activation Page directly.
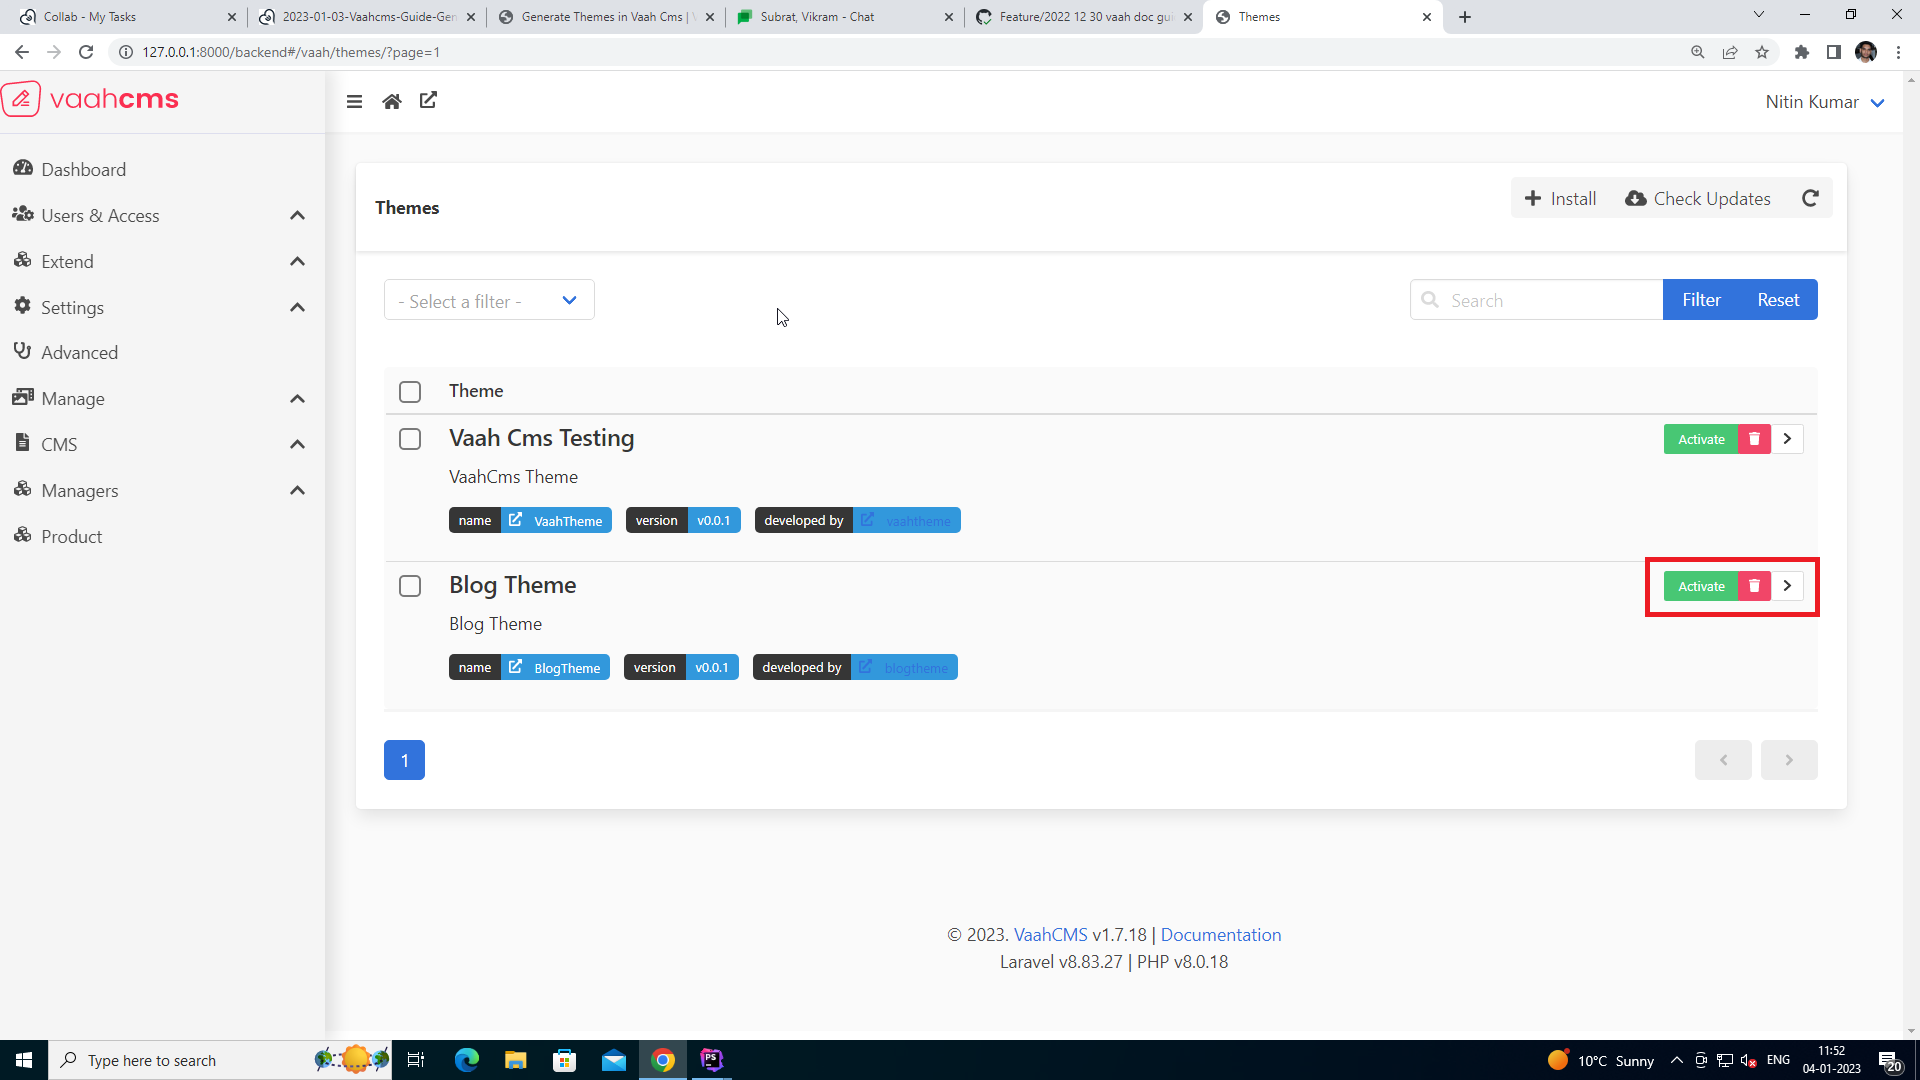
List of all the installed themes will be displayed. From this list,
find your theme and click on Activate button present on the right
side of that same theme to activate the theme.
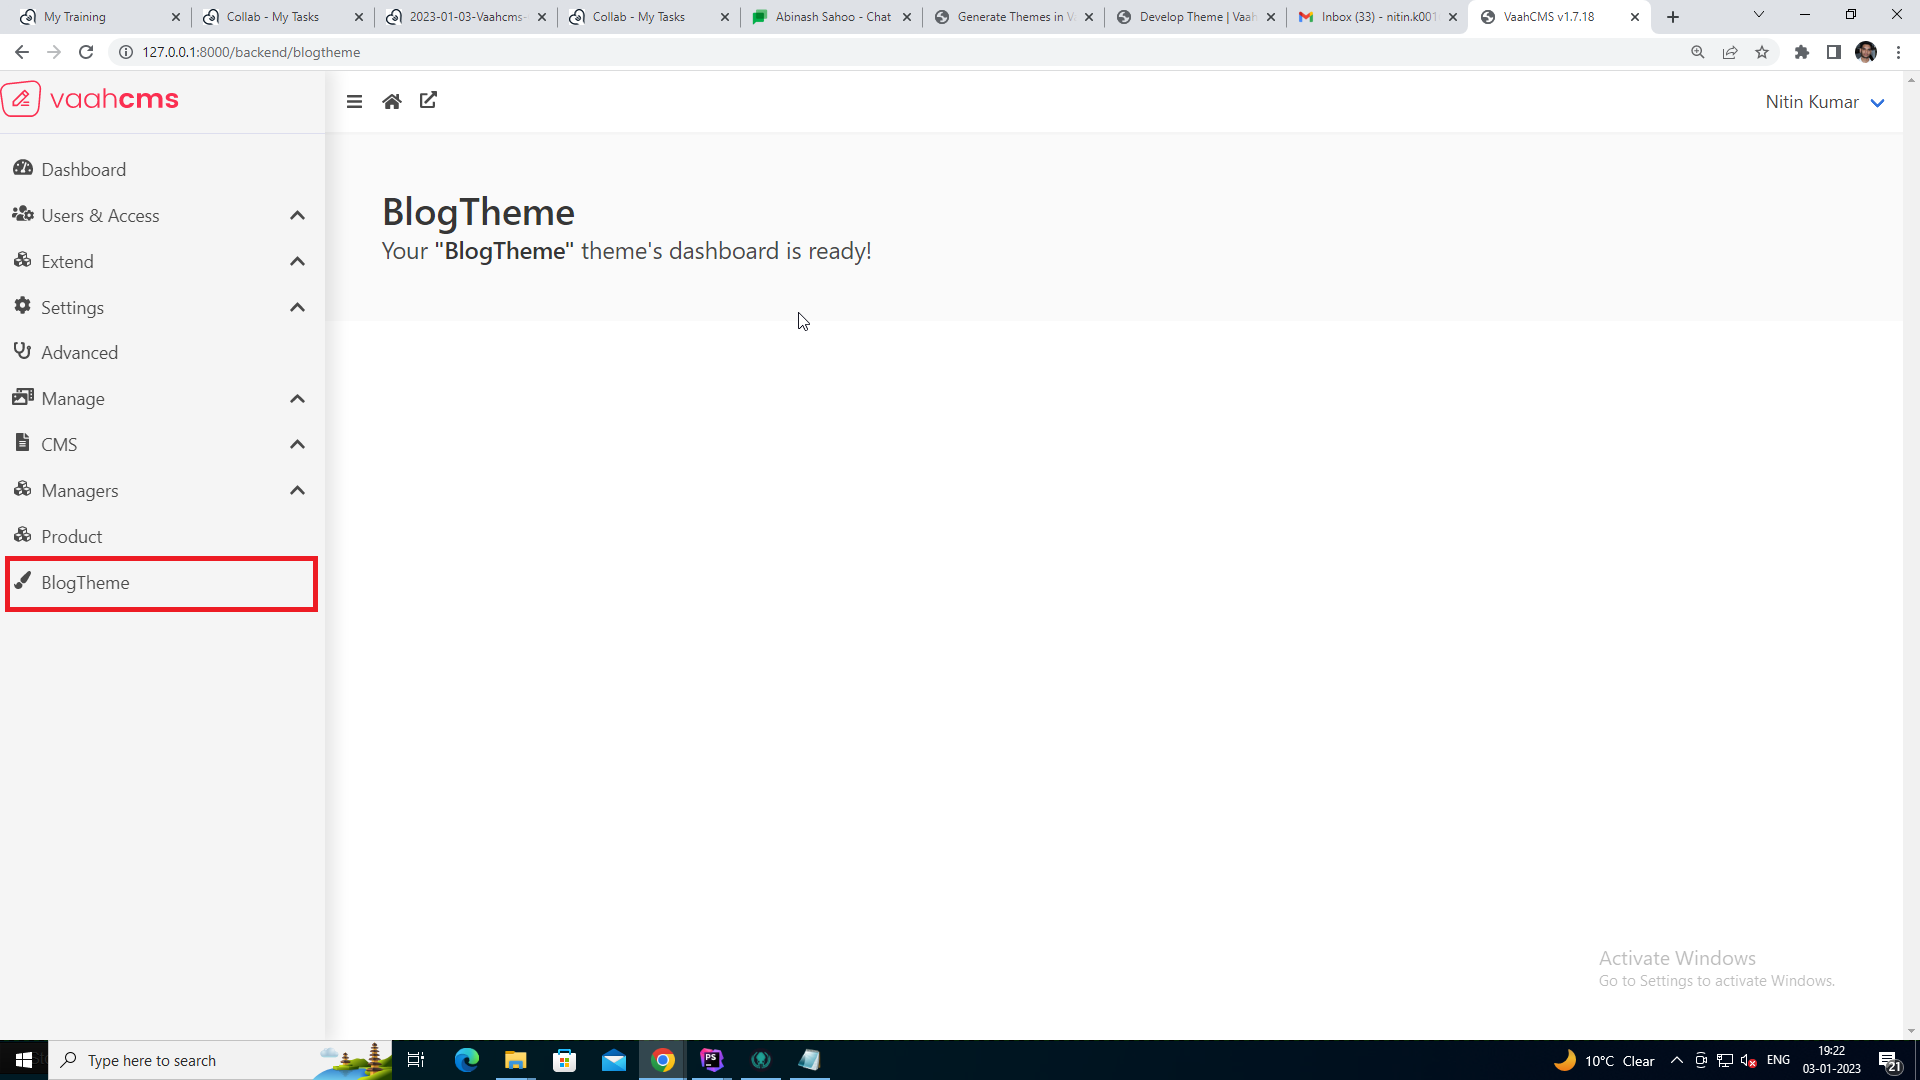
After successfull activation, theme name will be visible on the side bar. Click on theme name to access DashBoard of the theme.
Note: All migrations of that specific theme will run automatically when the theme is activated .
Step 4: Directory Structure
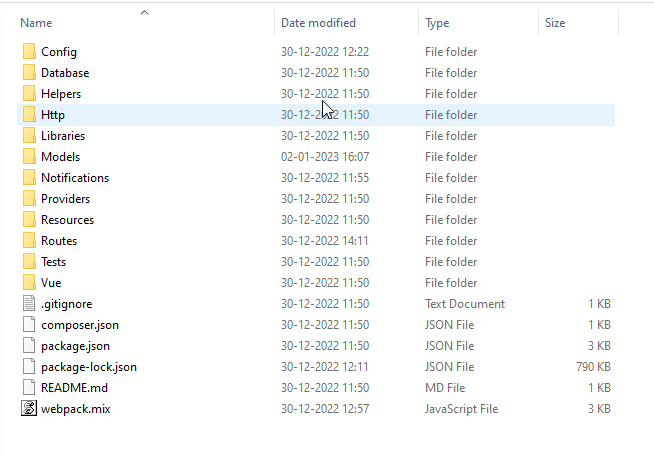
- Config:
Config file is present here. Config file contains all the information related to theme, that was provided while creating theme, such as, name, description,
is sample data availableetc. And this information can be changed in this config file. - Database:
All the Factory, Migrations and Seeds files of this theme are present in Database Folder.
- To generate Migration File:
npx vaah cms:m-make migrations <theme-folder-name> <migration-name> Migration file will be generated under `Database/Migrations`.
In order to run migrations,deactivateandactivateTheme again.- To generate Seeds File:
npx vaah cms:m-make migrations <theme-folder-name> <seeder-name>
Seeds file will be generated underDatabase/Seeders. Or we can use json files to seed data into tables. Example: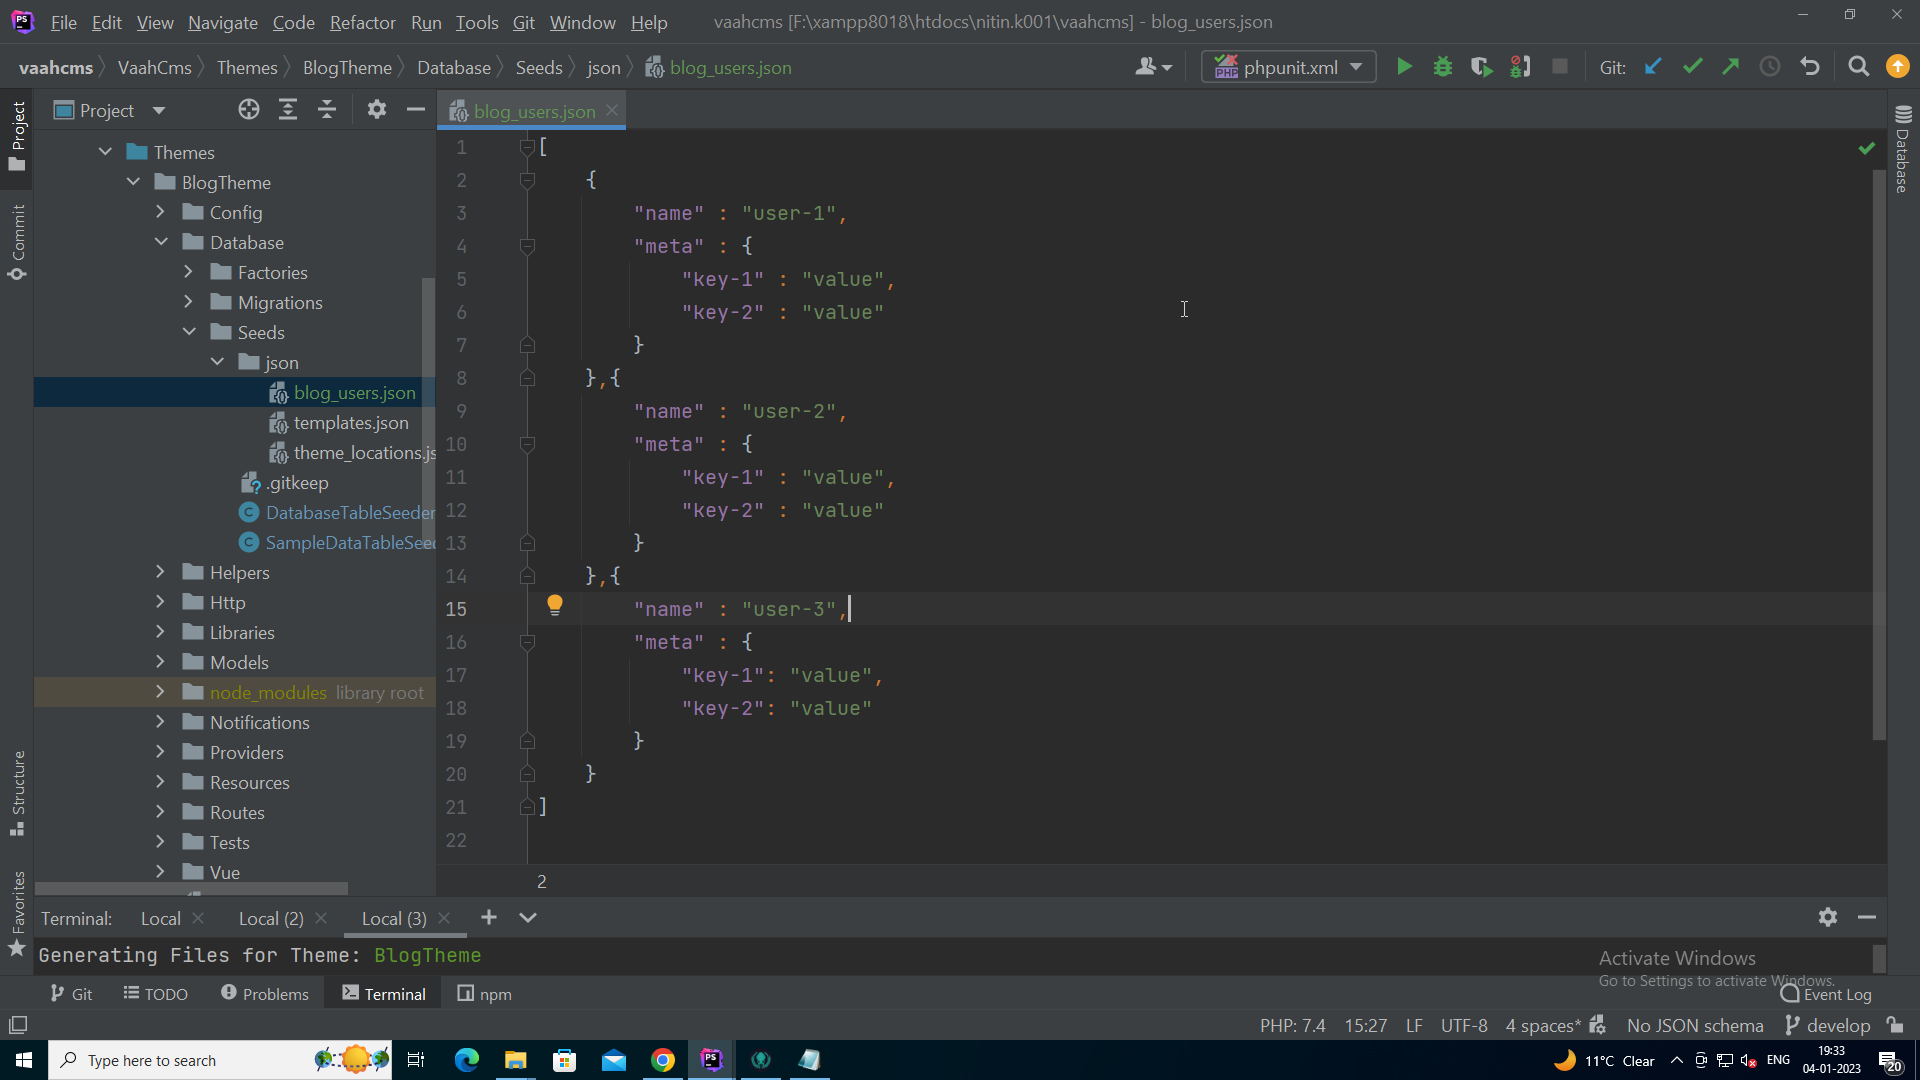
and this json file can be used in SampleDataTableSeeder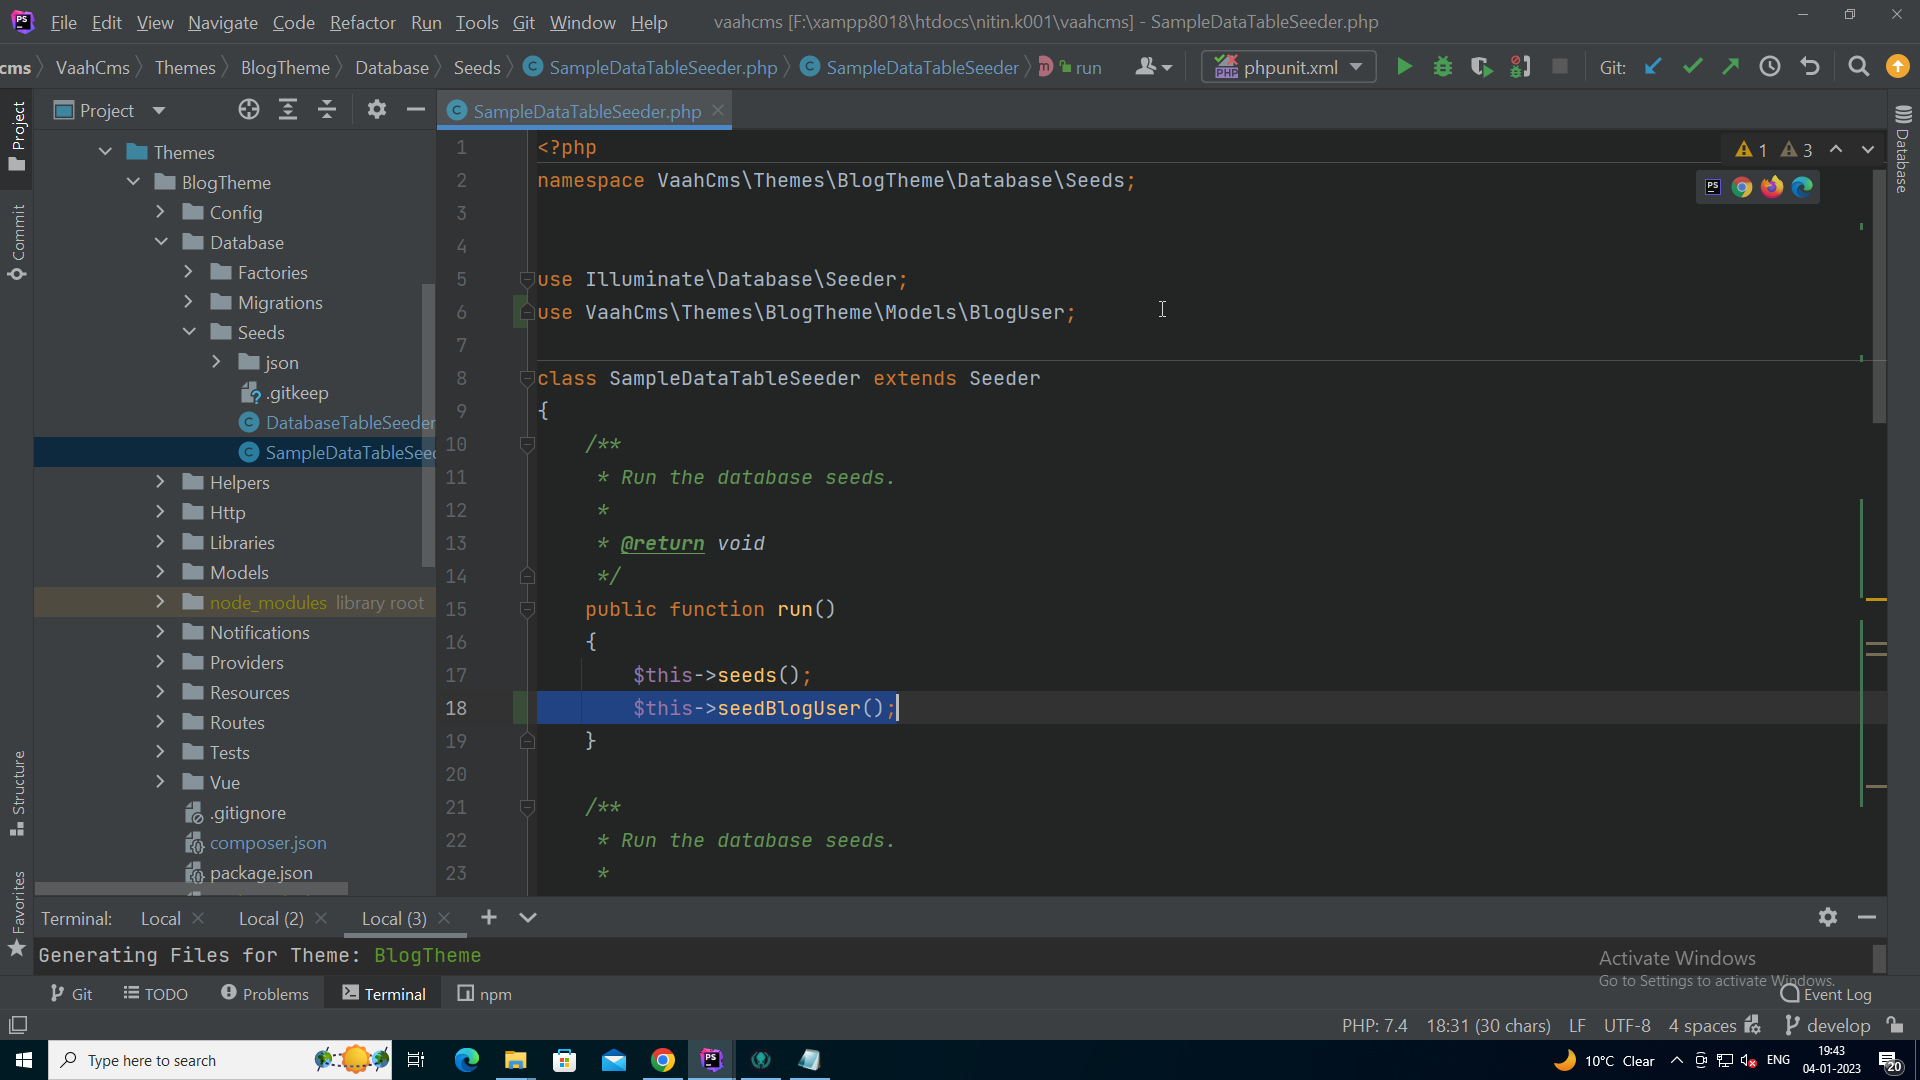
and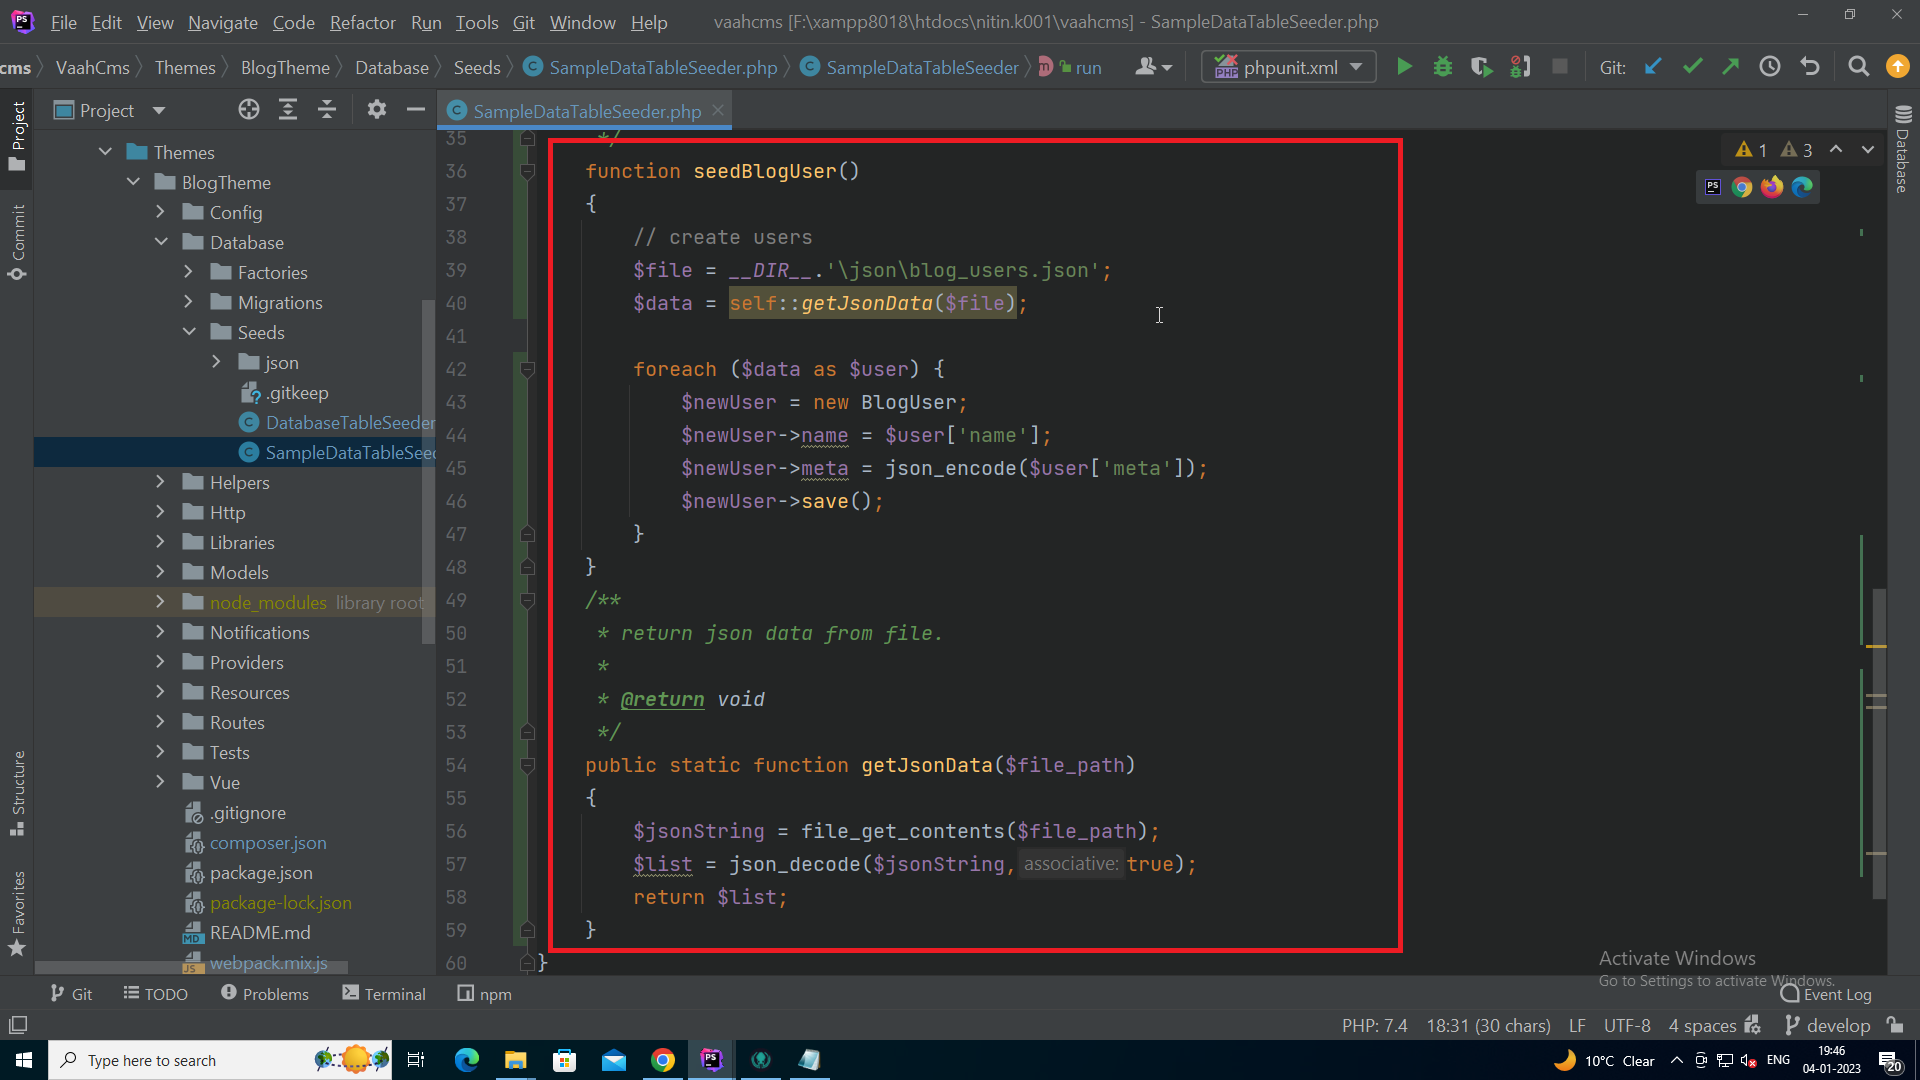
and to runSampleDataTableSeederfile, click onimport sample databutton:-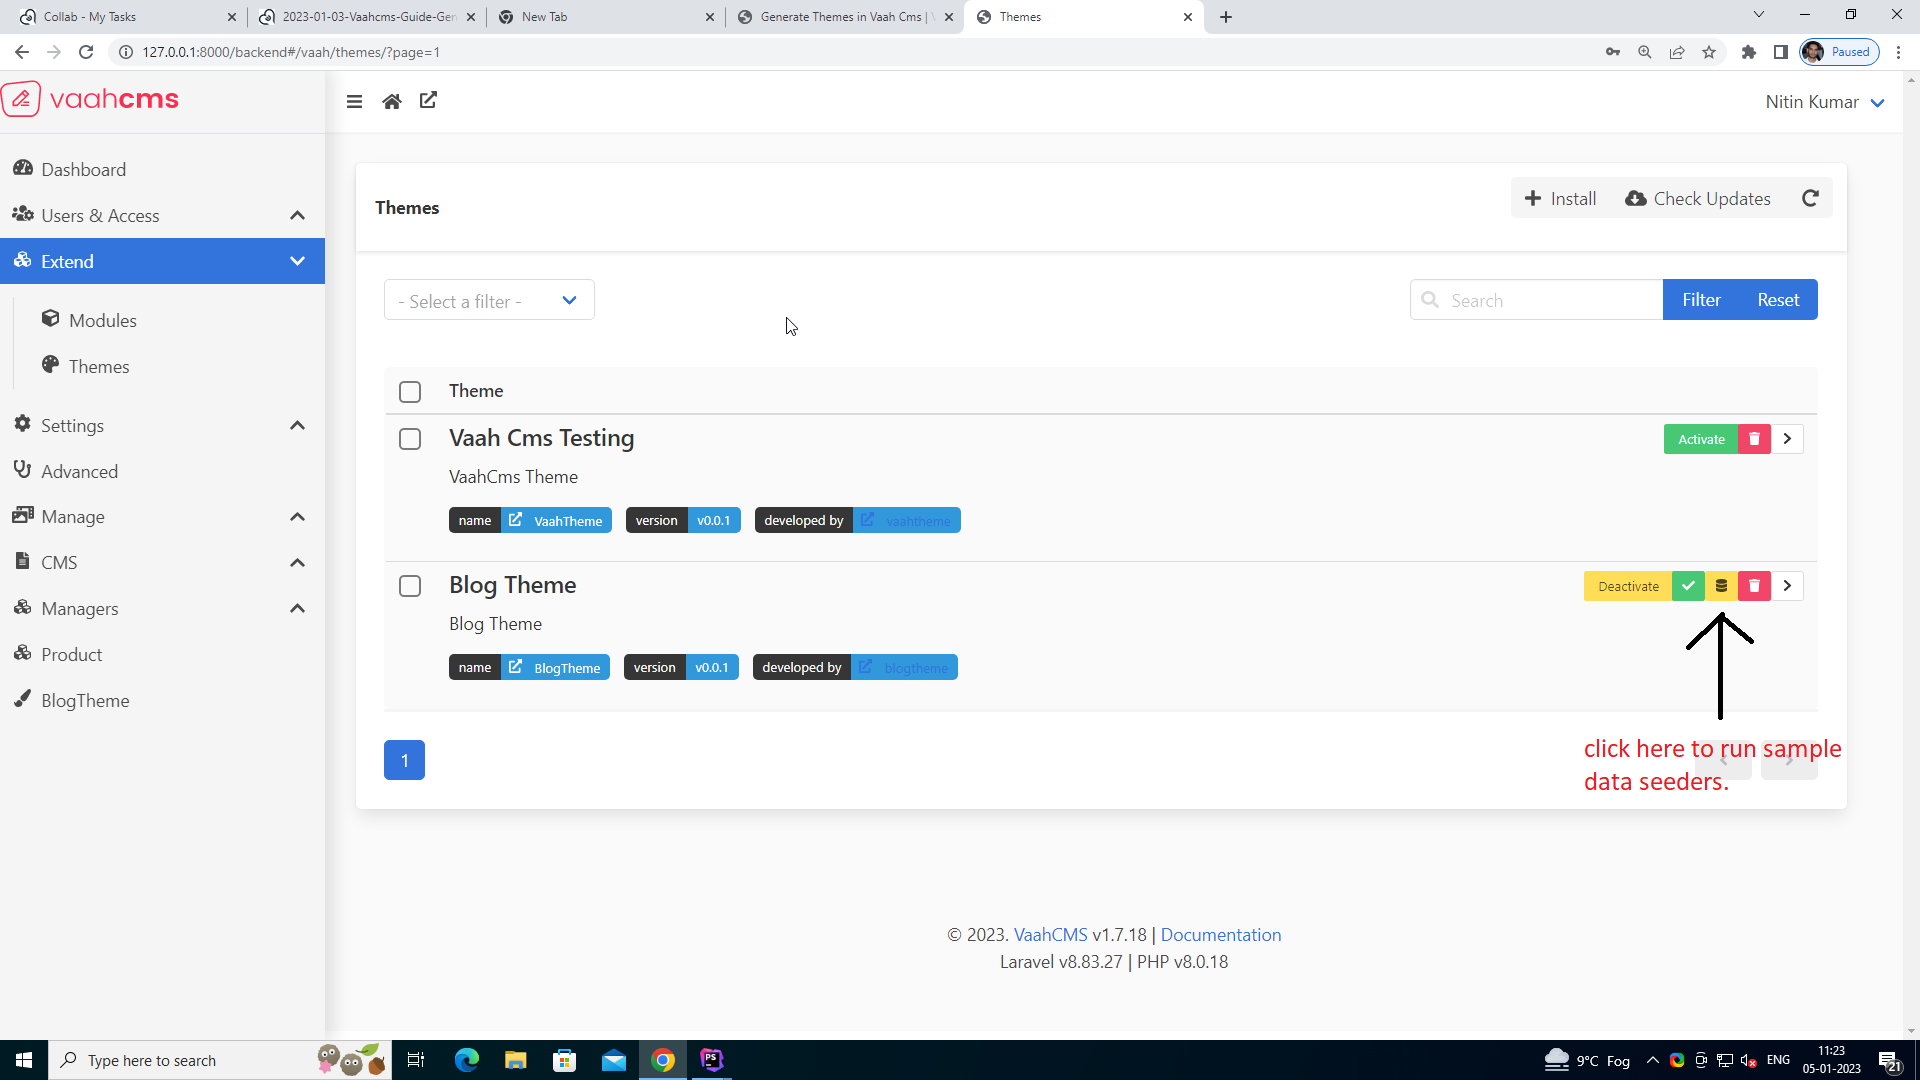
- To generate Migration File:
- Models:
All the models for this theme will be generated in
<theme-root>/Modelsusing:
npx vaah cms:t-make model <theme-root> <model-name>
- Views:
All the views for this theme will be generated in
<theme-root>/Resources/Views- this is the first page of the theme
welcome.balde.php. - this page can be used as homepage
home.balde.php. - this page can be used as fallback back
default.balde.php.
- this is the first page of the theme
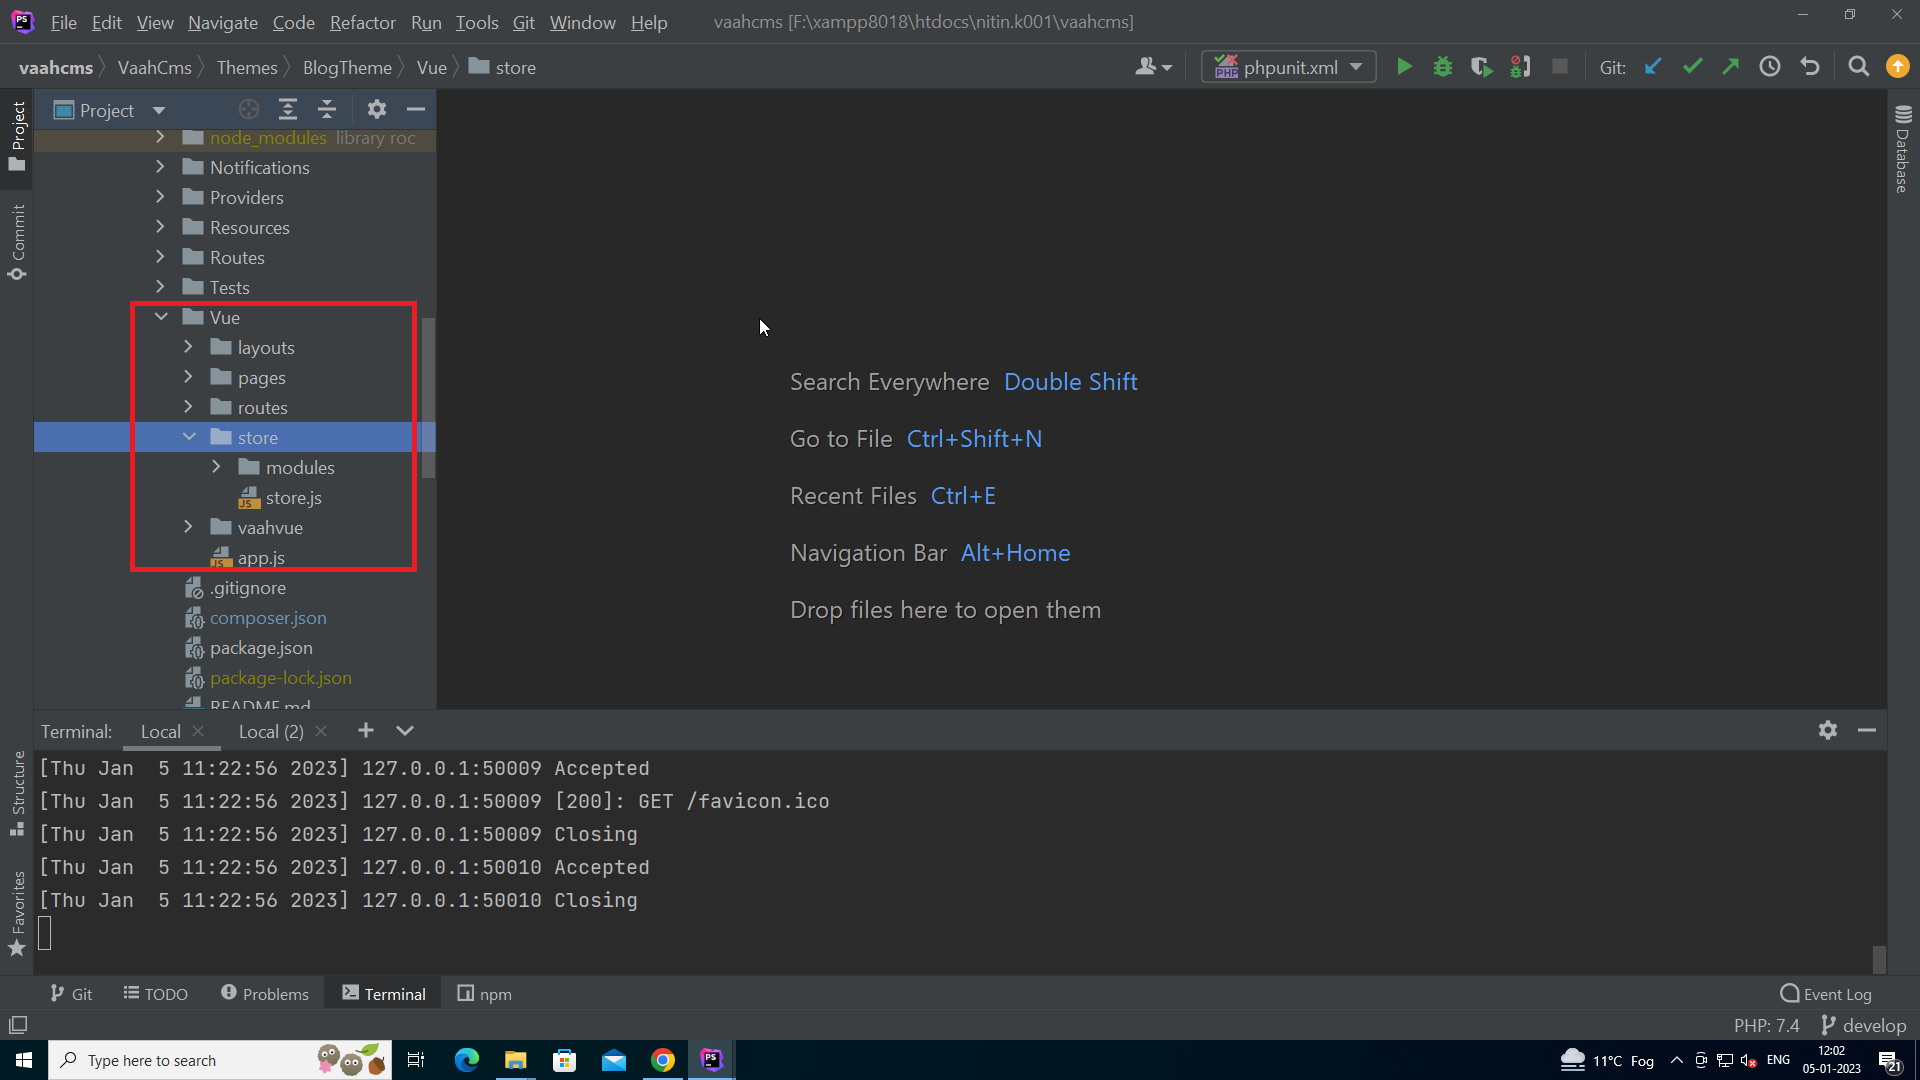
- Vue:
This folder will contain all the vue files, vuex store, vue routes related to this theme.
- Vue components will be present under Vue/pages.

- Vue routes will be present under Vue/routes.
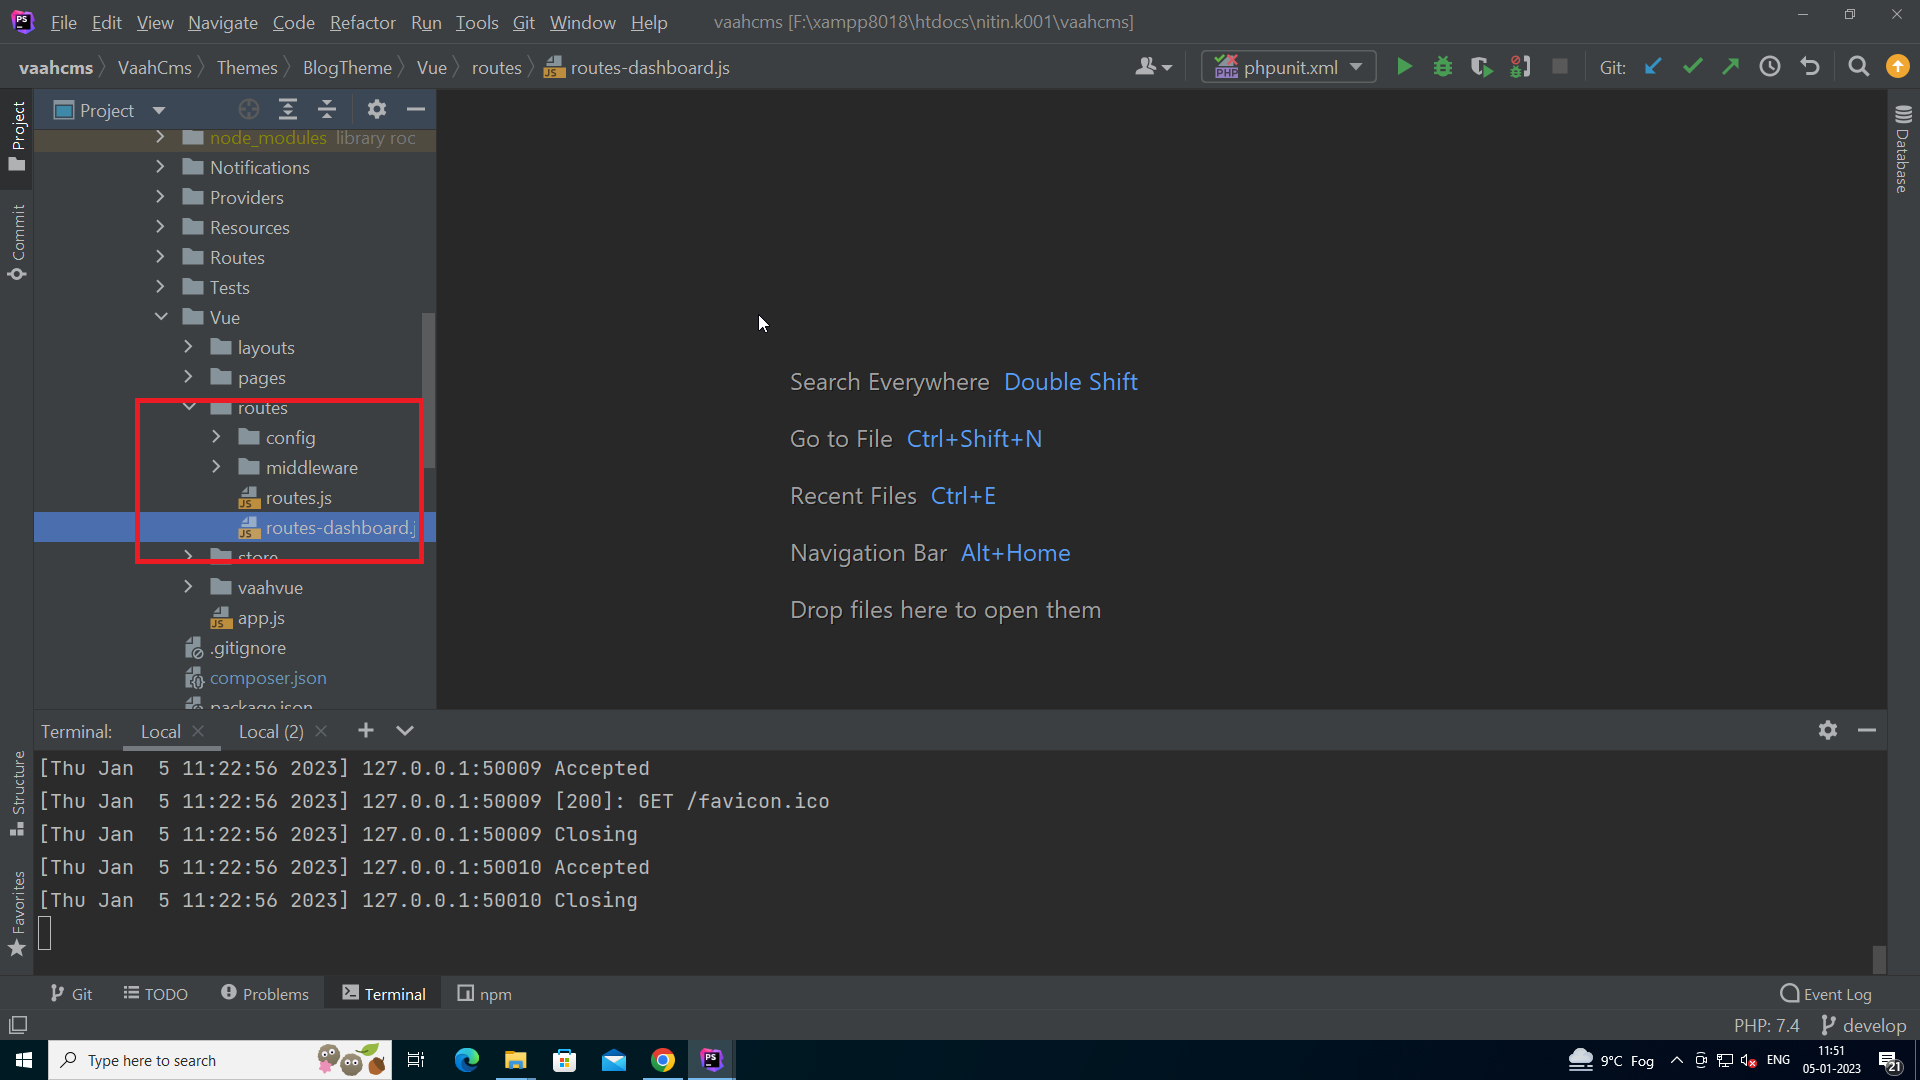
- Vue store will be found under Vue/stores.
- Vue components will be present under Vue/pages.